Light Switch Cover
a simple home improvement
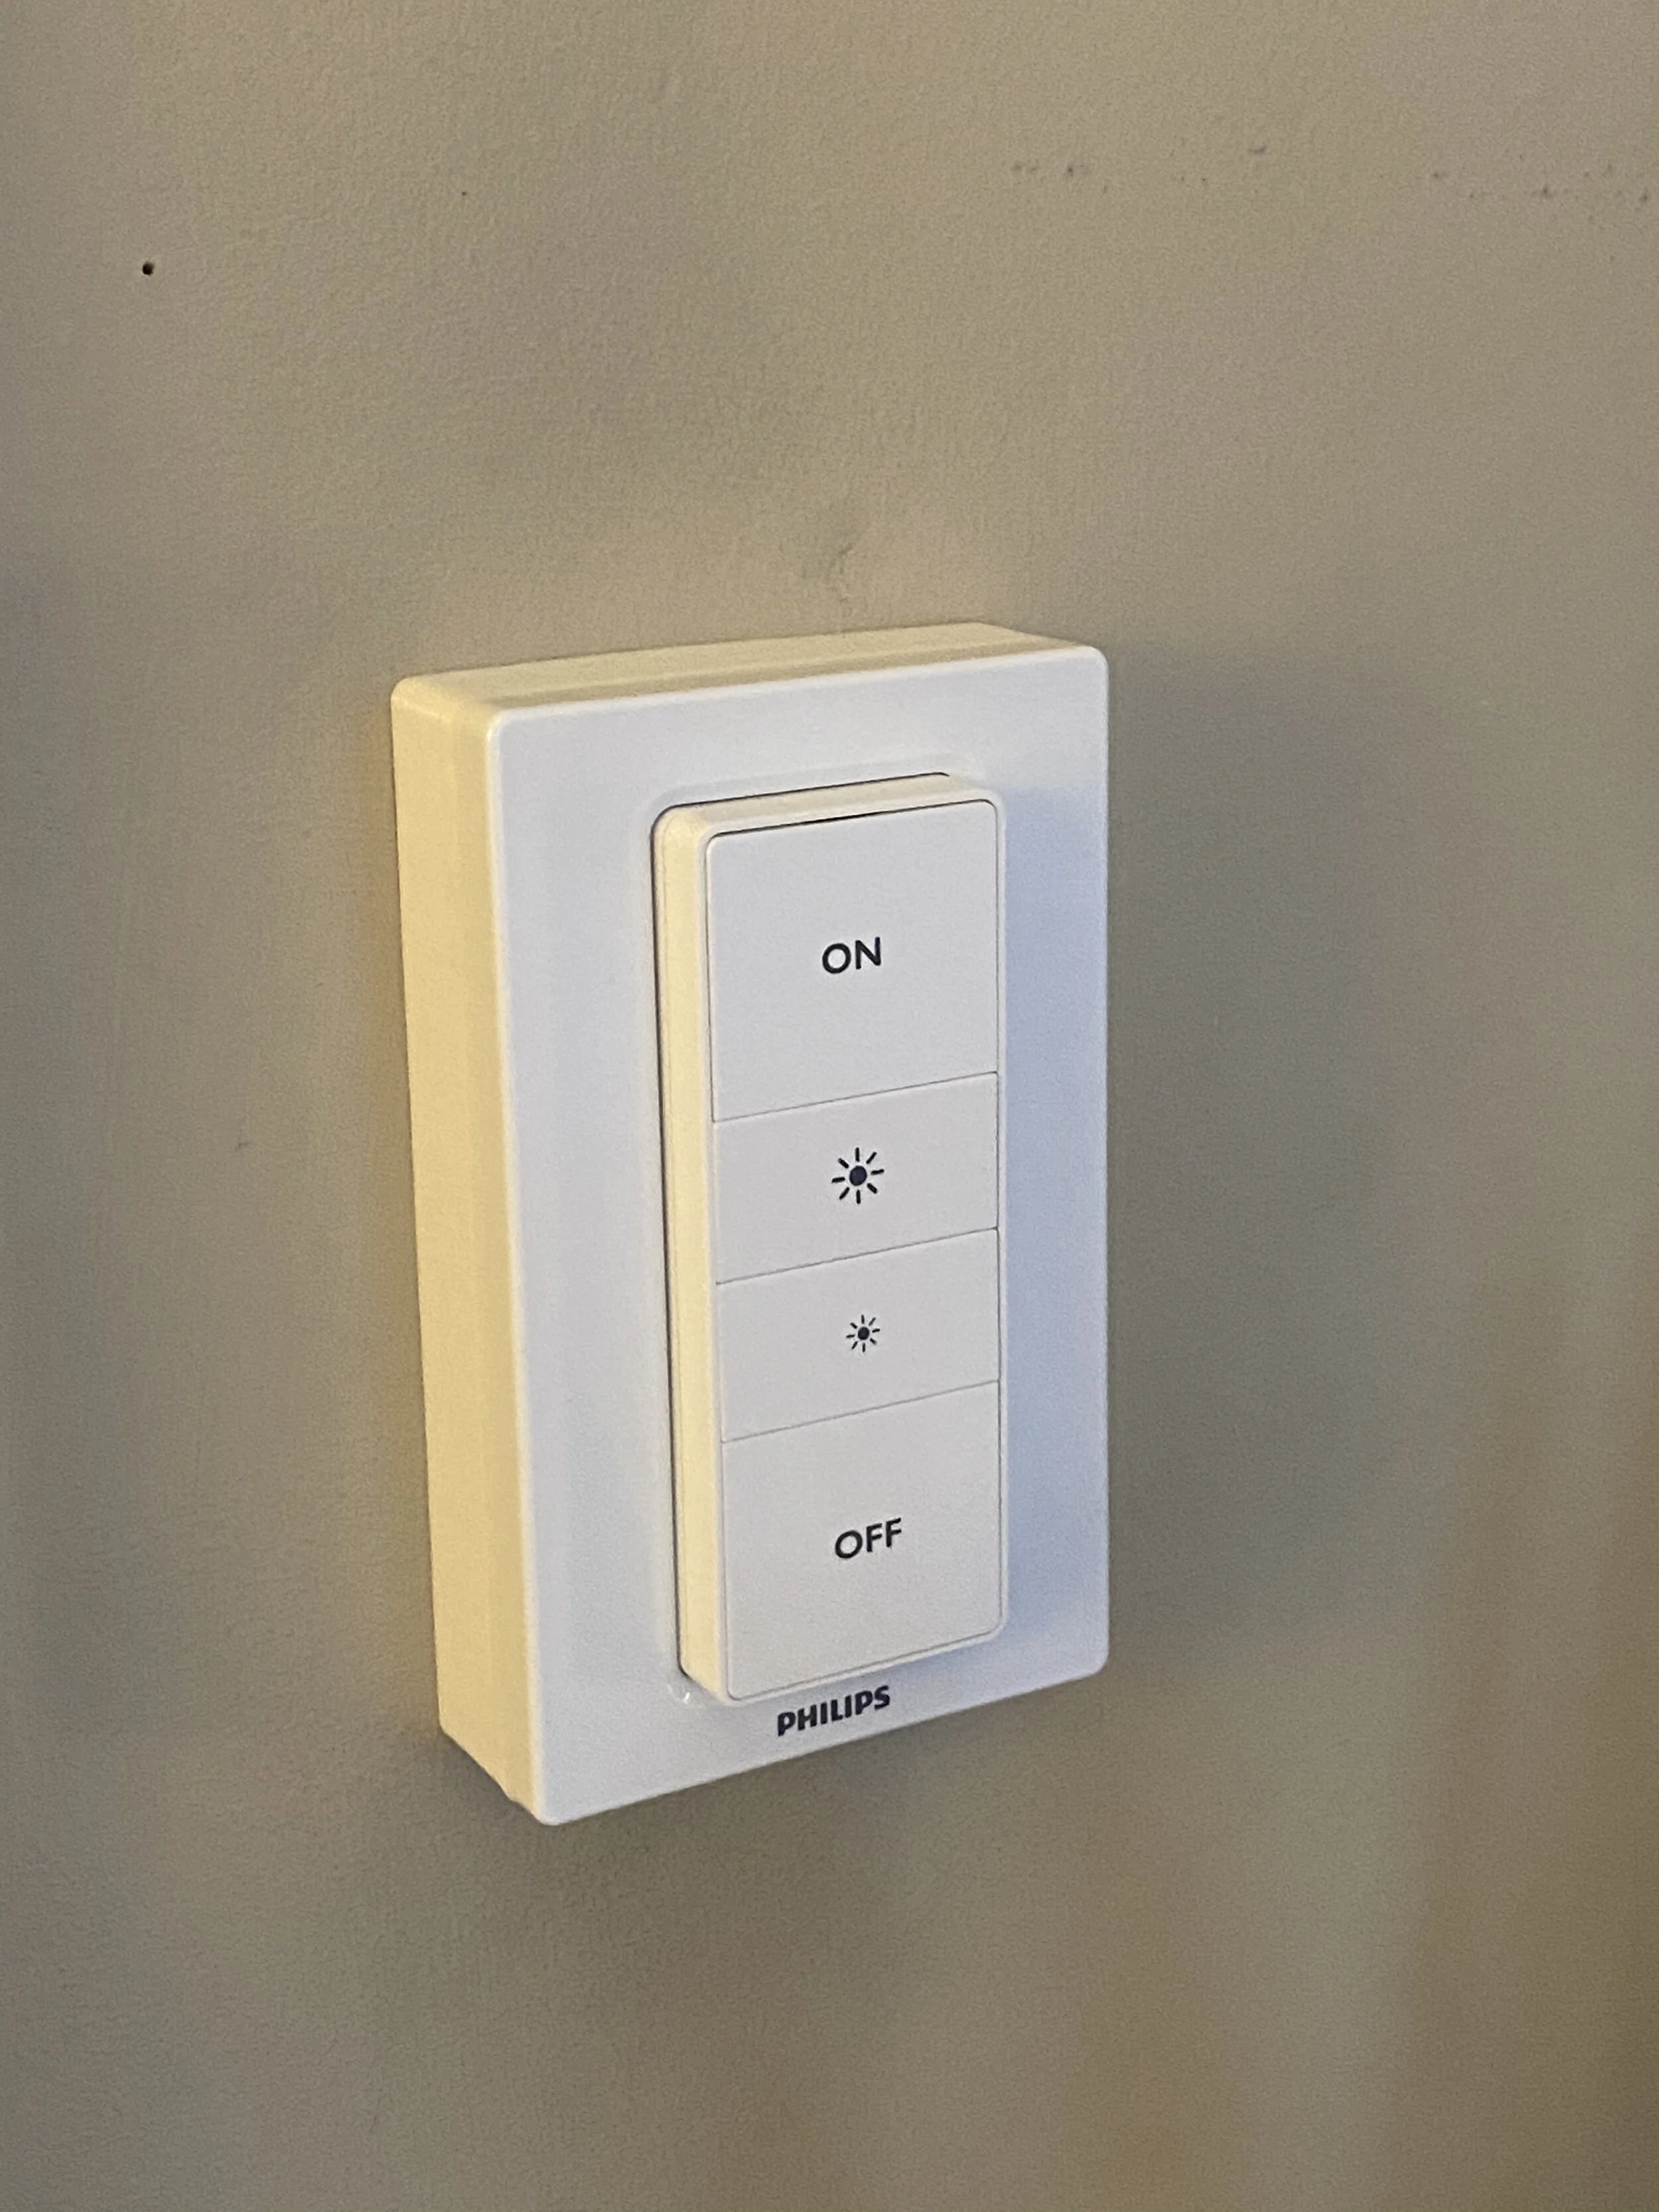
My affinity for home automation has lead me to buy my share of internet connected light bulbs. One thing that has frustrated me is that the switches to control these lights usually come with an adhesive mount to stick them directly on the wall. The problem with this is that the conventional light switch that controls the socket is still there and can cut power to the device if it’s flipped. Lucky for me, I work for a company that specializes in making arbitrary plastic parts! To kill 2 birds with 1 stone, I designed a mount for my Philips Hue switch that fits over an existing standard light switch to securely mount the Hue switch to the wall (no adhesives) and cover the existing light switch in order to prevent it from being accidentally turned off.
Below is a tutorial for assembling and installing the cover:
Bill of Materials
1x Switch Mount (printed)
2x M3x5 Socket Head Cap Screws
2x 6-32 Oval Head Screws*
2x M3 Heat Set Insert
1x Philips Hue Light Switch
*these should be the existing screws on your lightswitch cover
Design Files
The STL for the Switch Mount can be found here.
Assembly
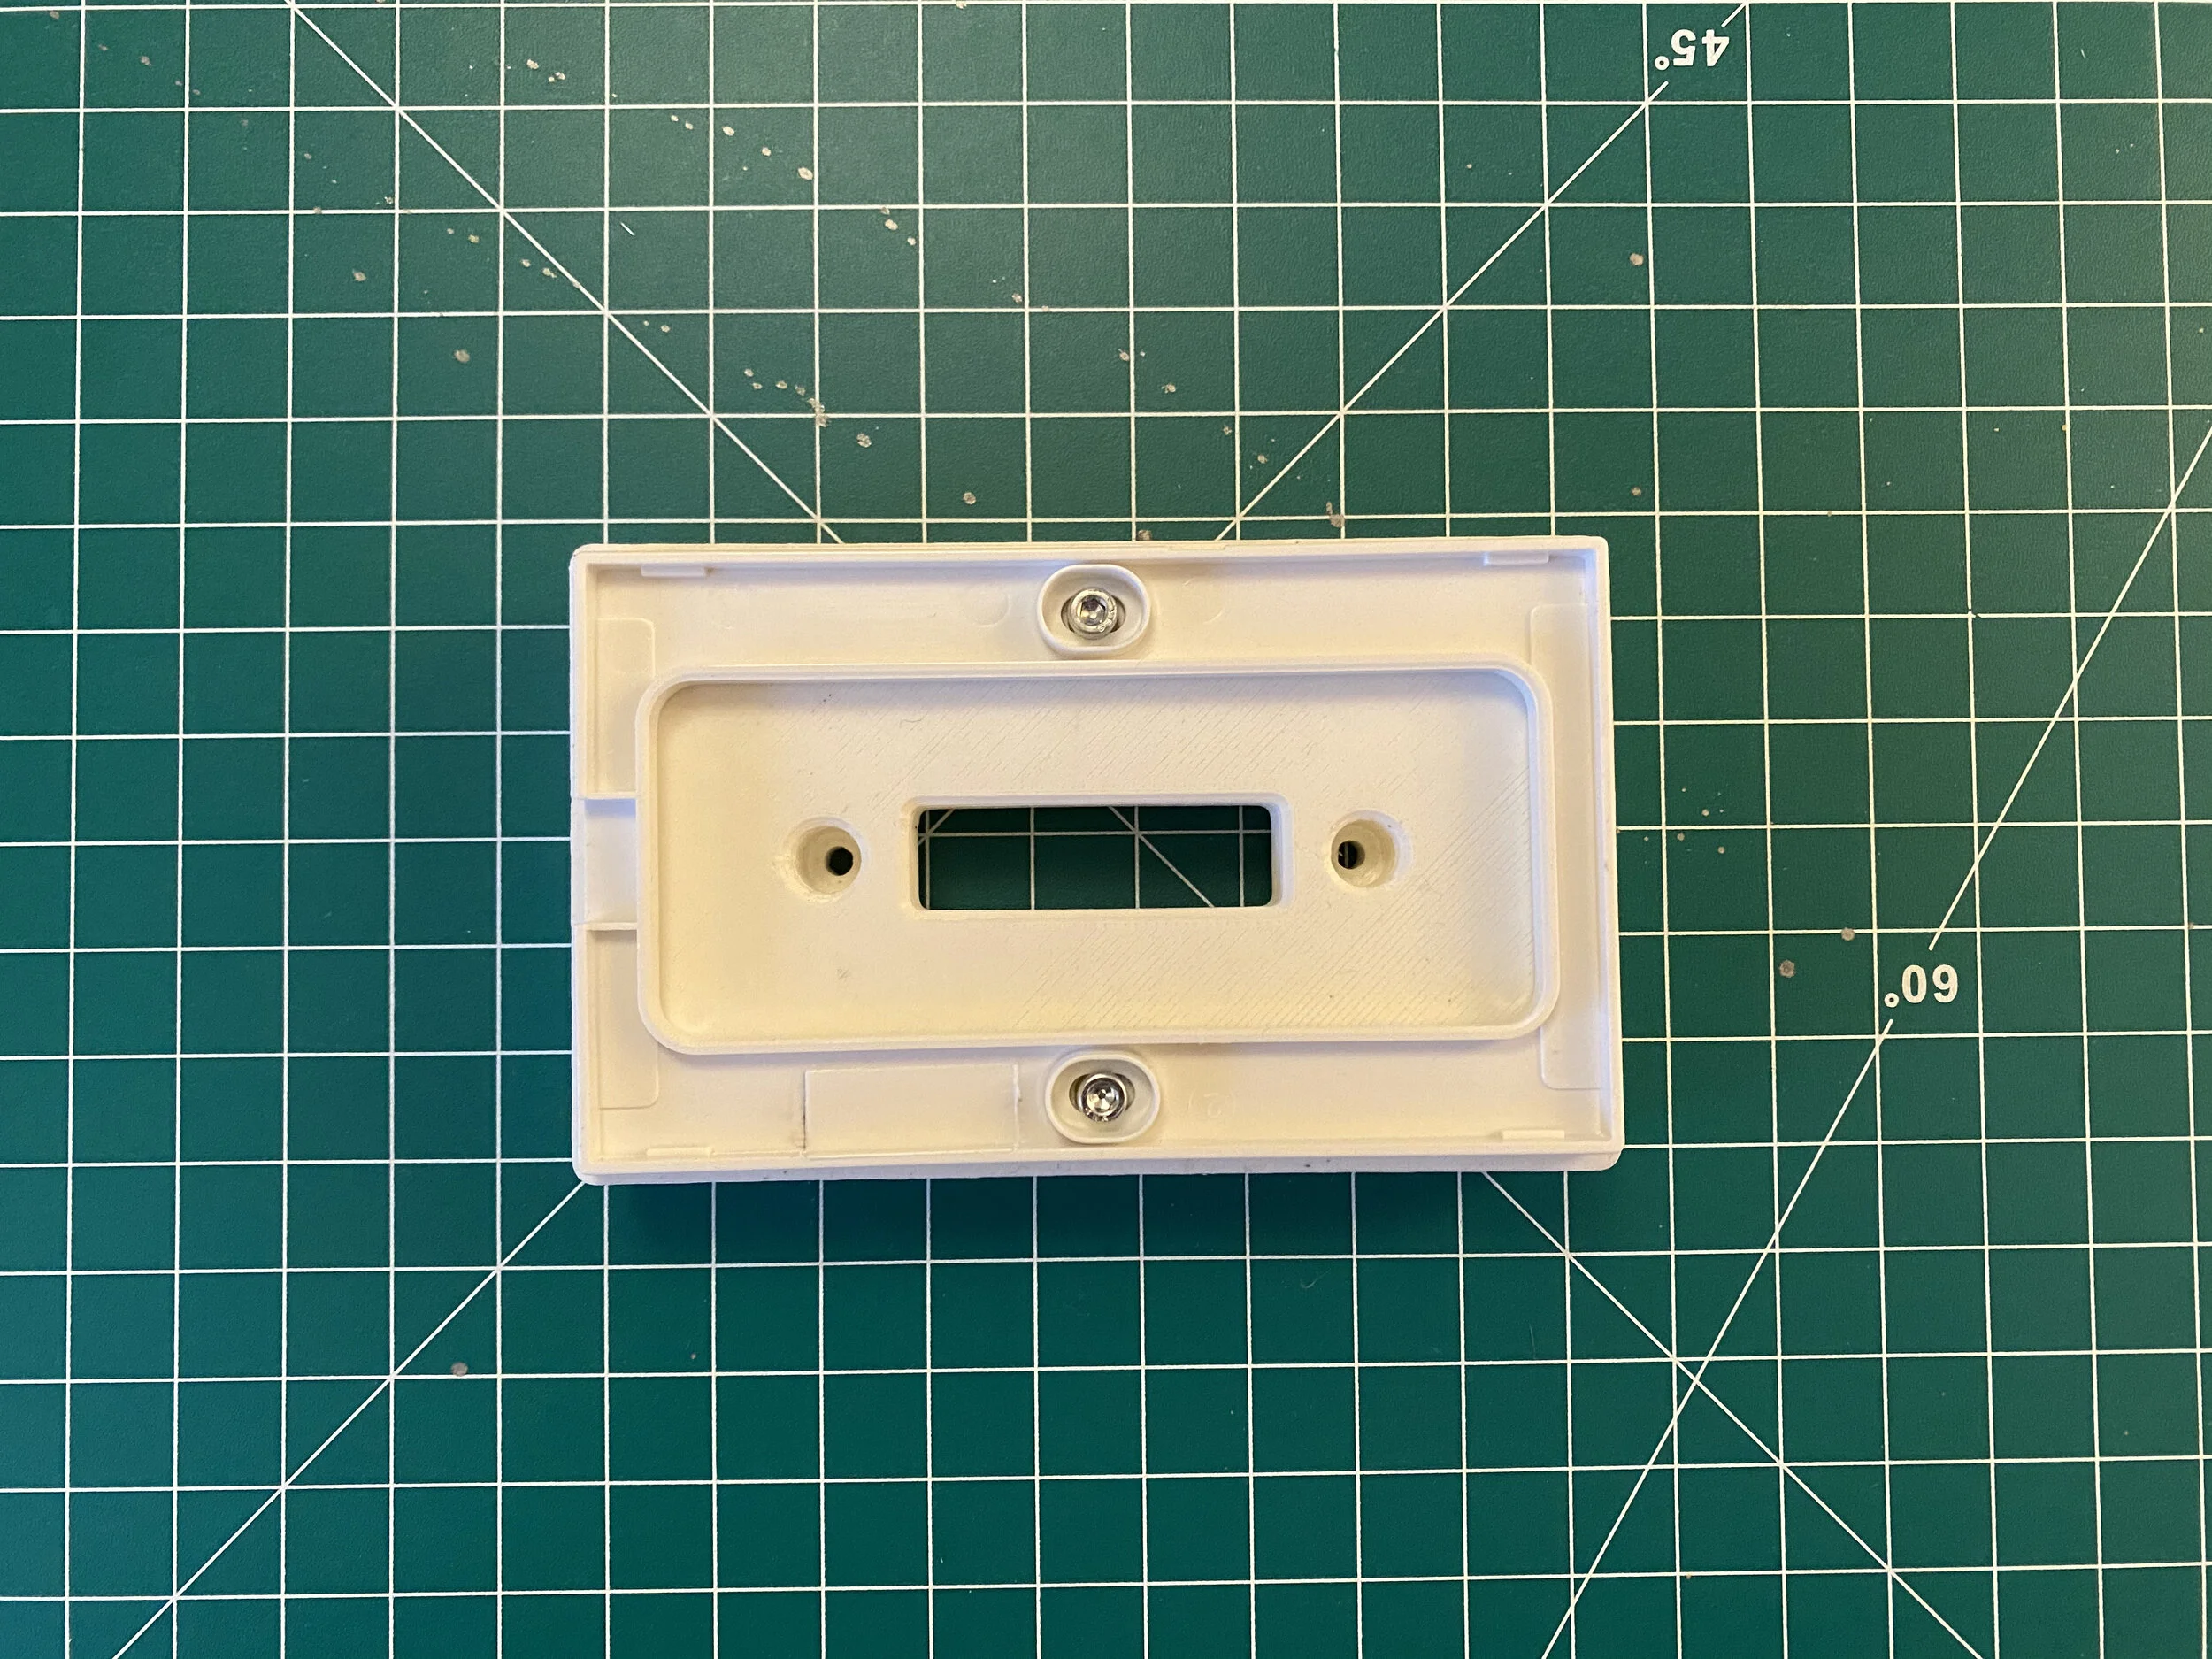
Install 2 M3 Heat Set Inserts into the printed cover
Place the Philips Hue switch mount over the printed cover and secure using the two M3x5 SHCS screws
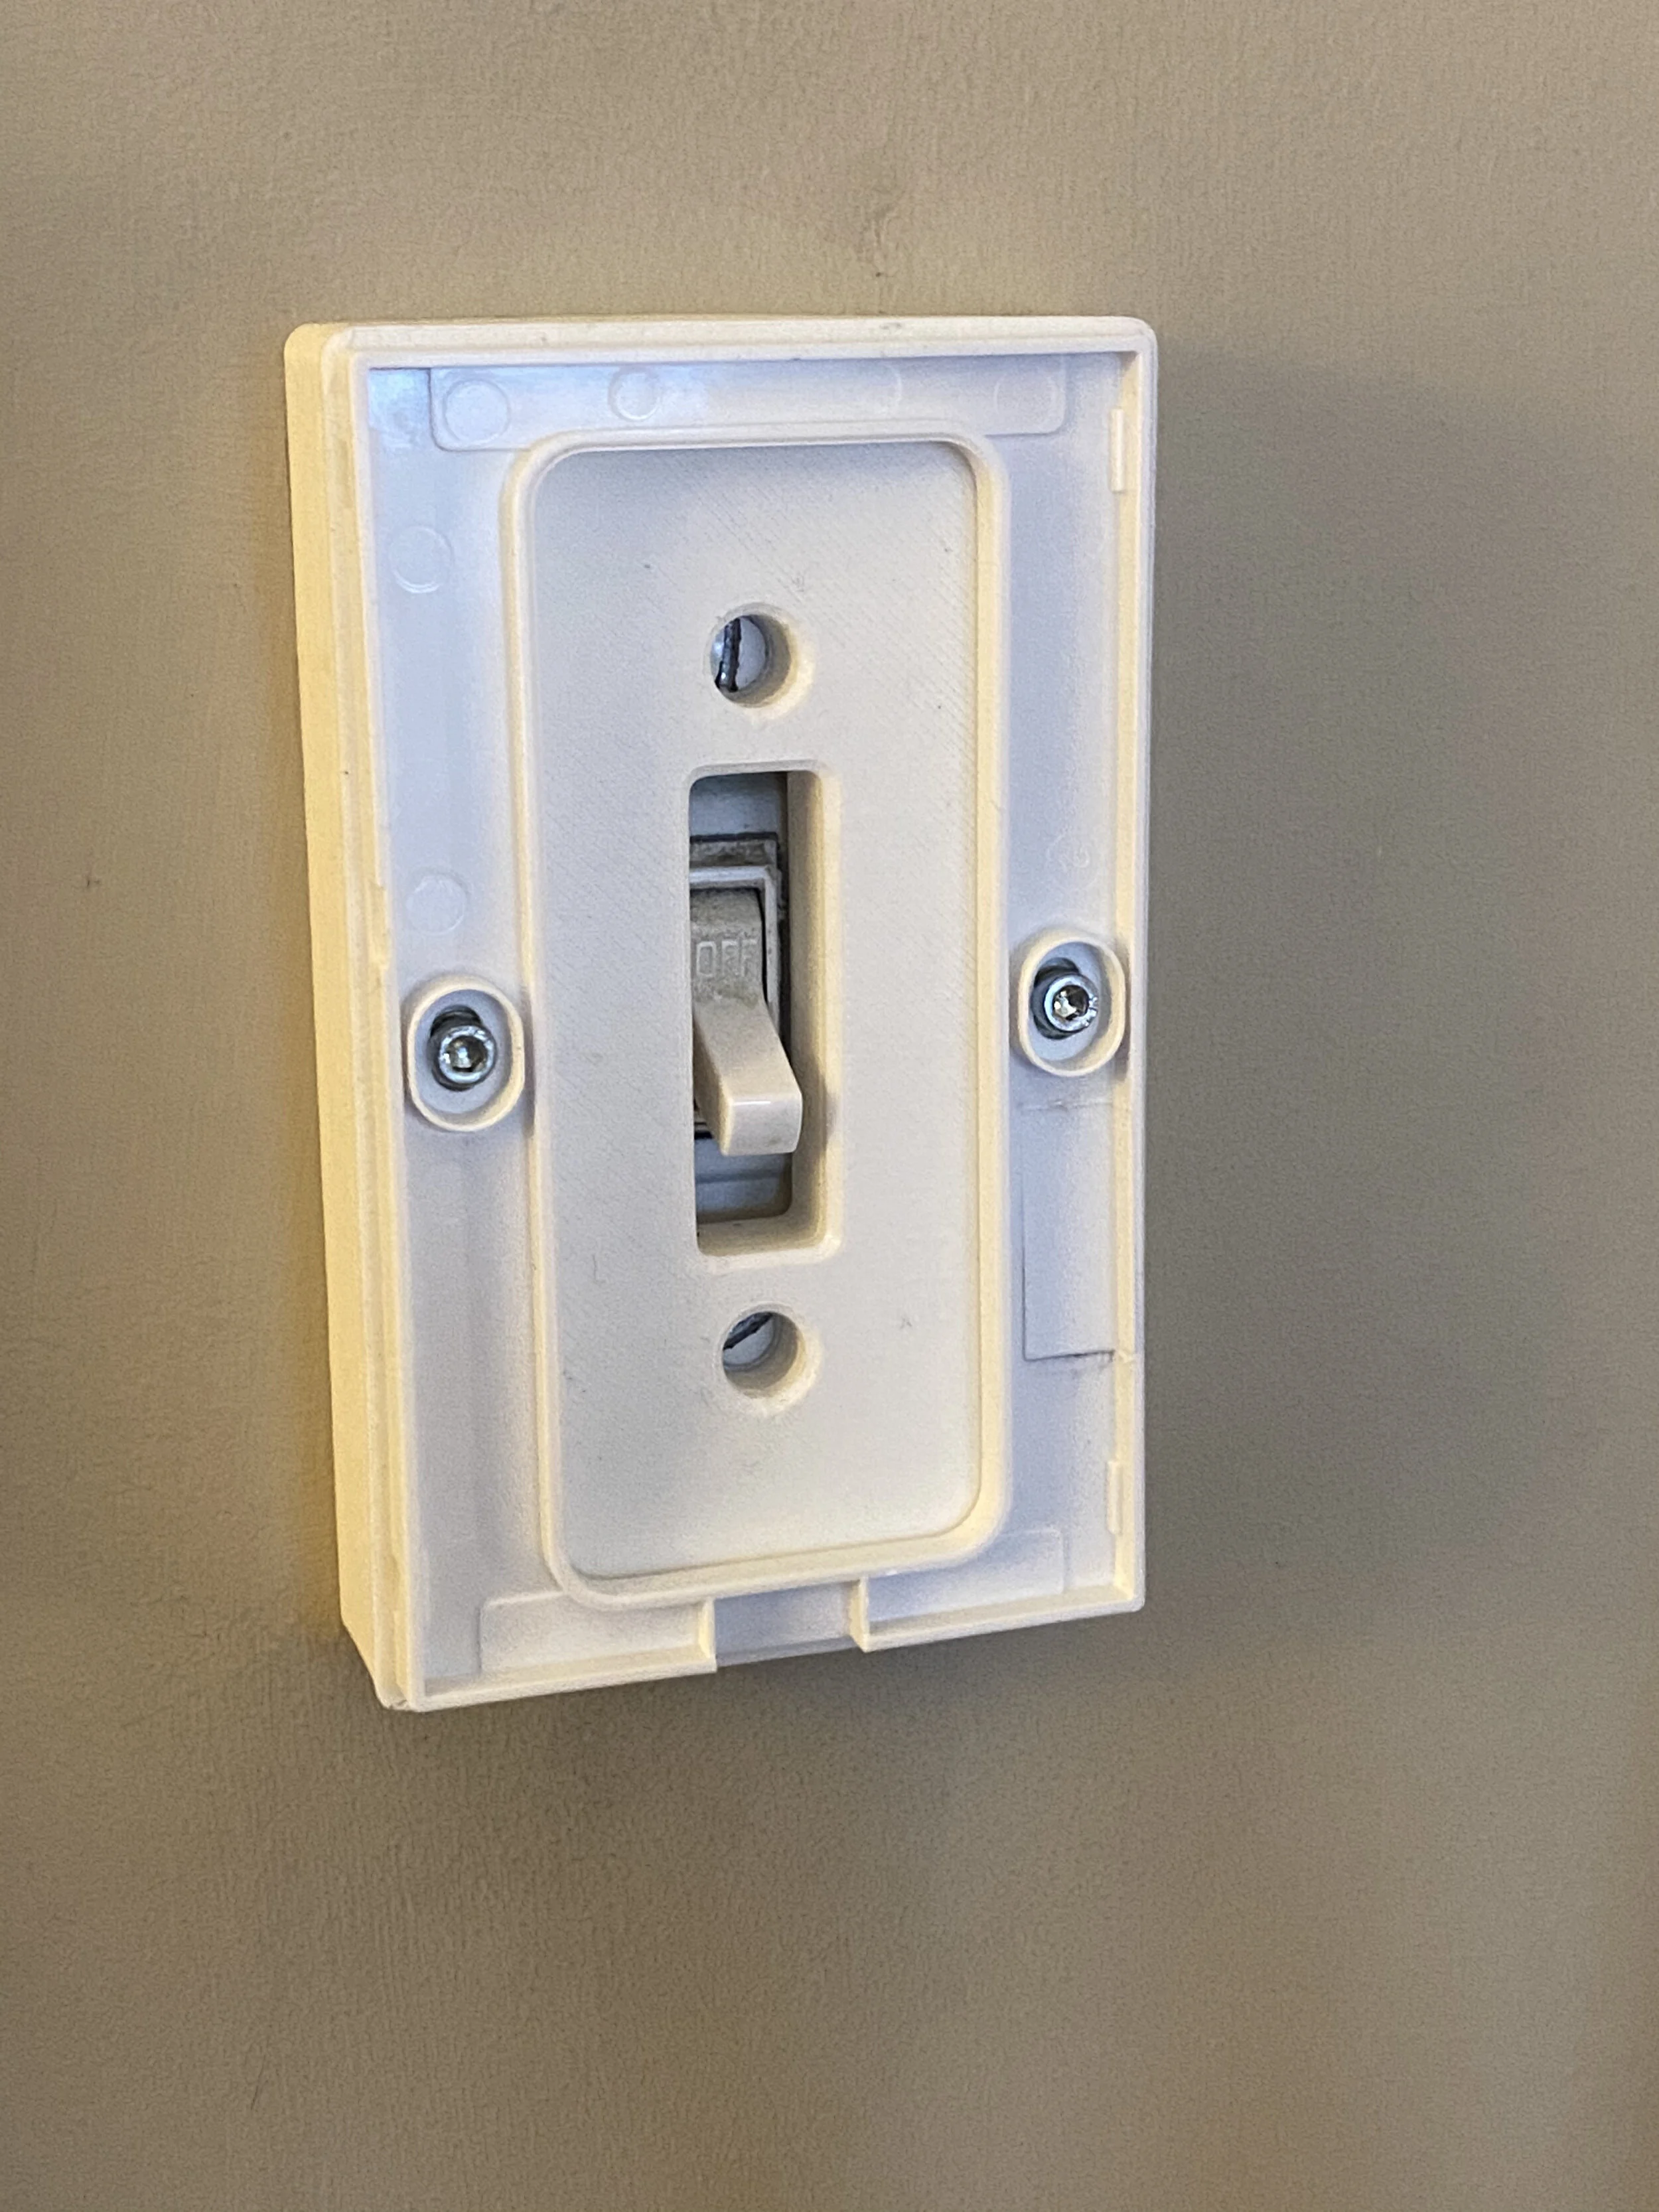
Mount the printed cover over the existing light switch (with the existing cover removed) and secure with the two 6-32 Oval Head Screws
Snap on the Philips Hue magnetic base
Done!


