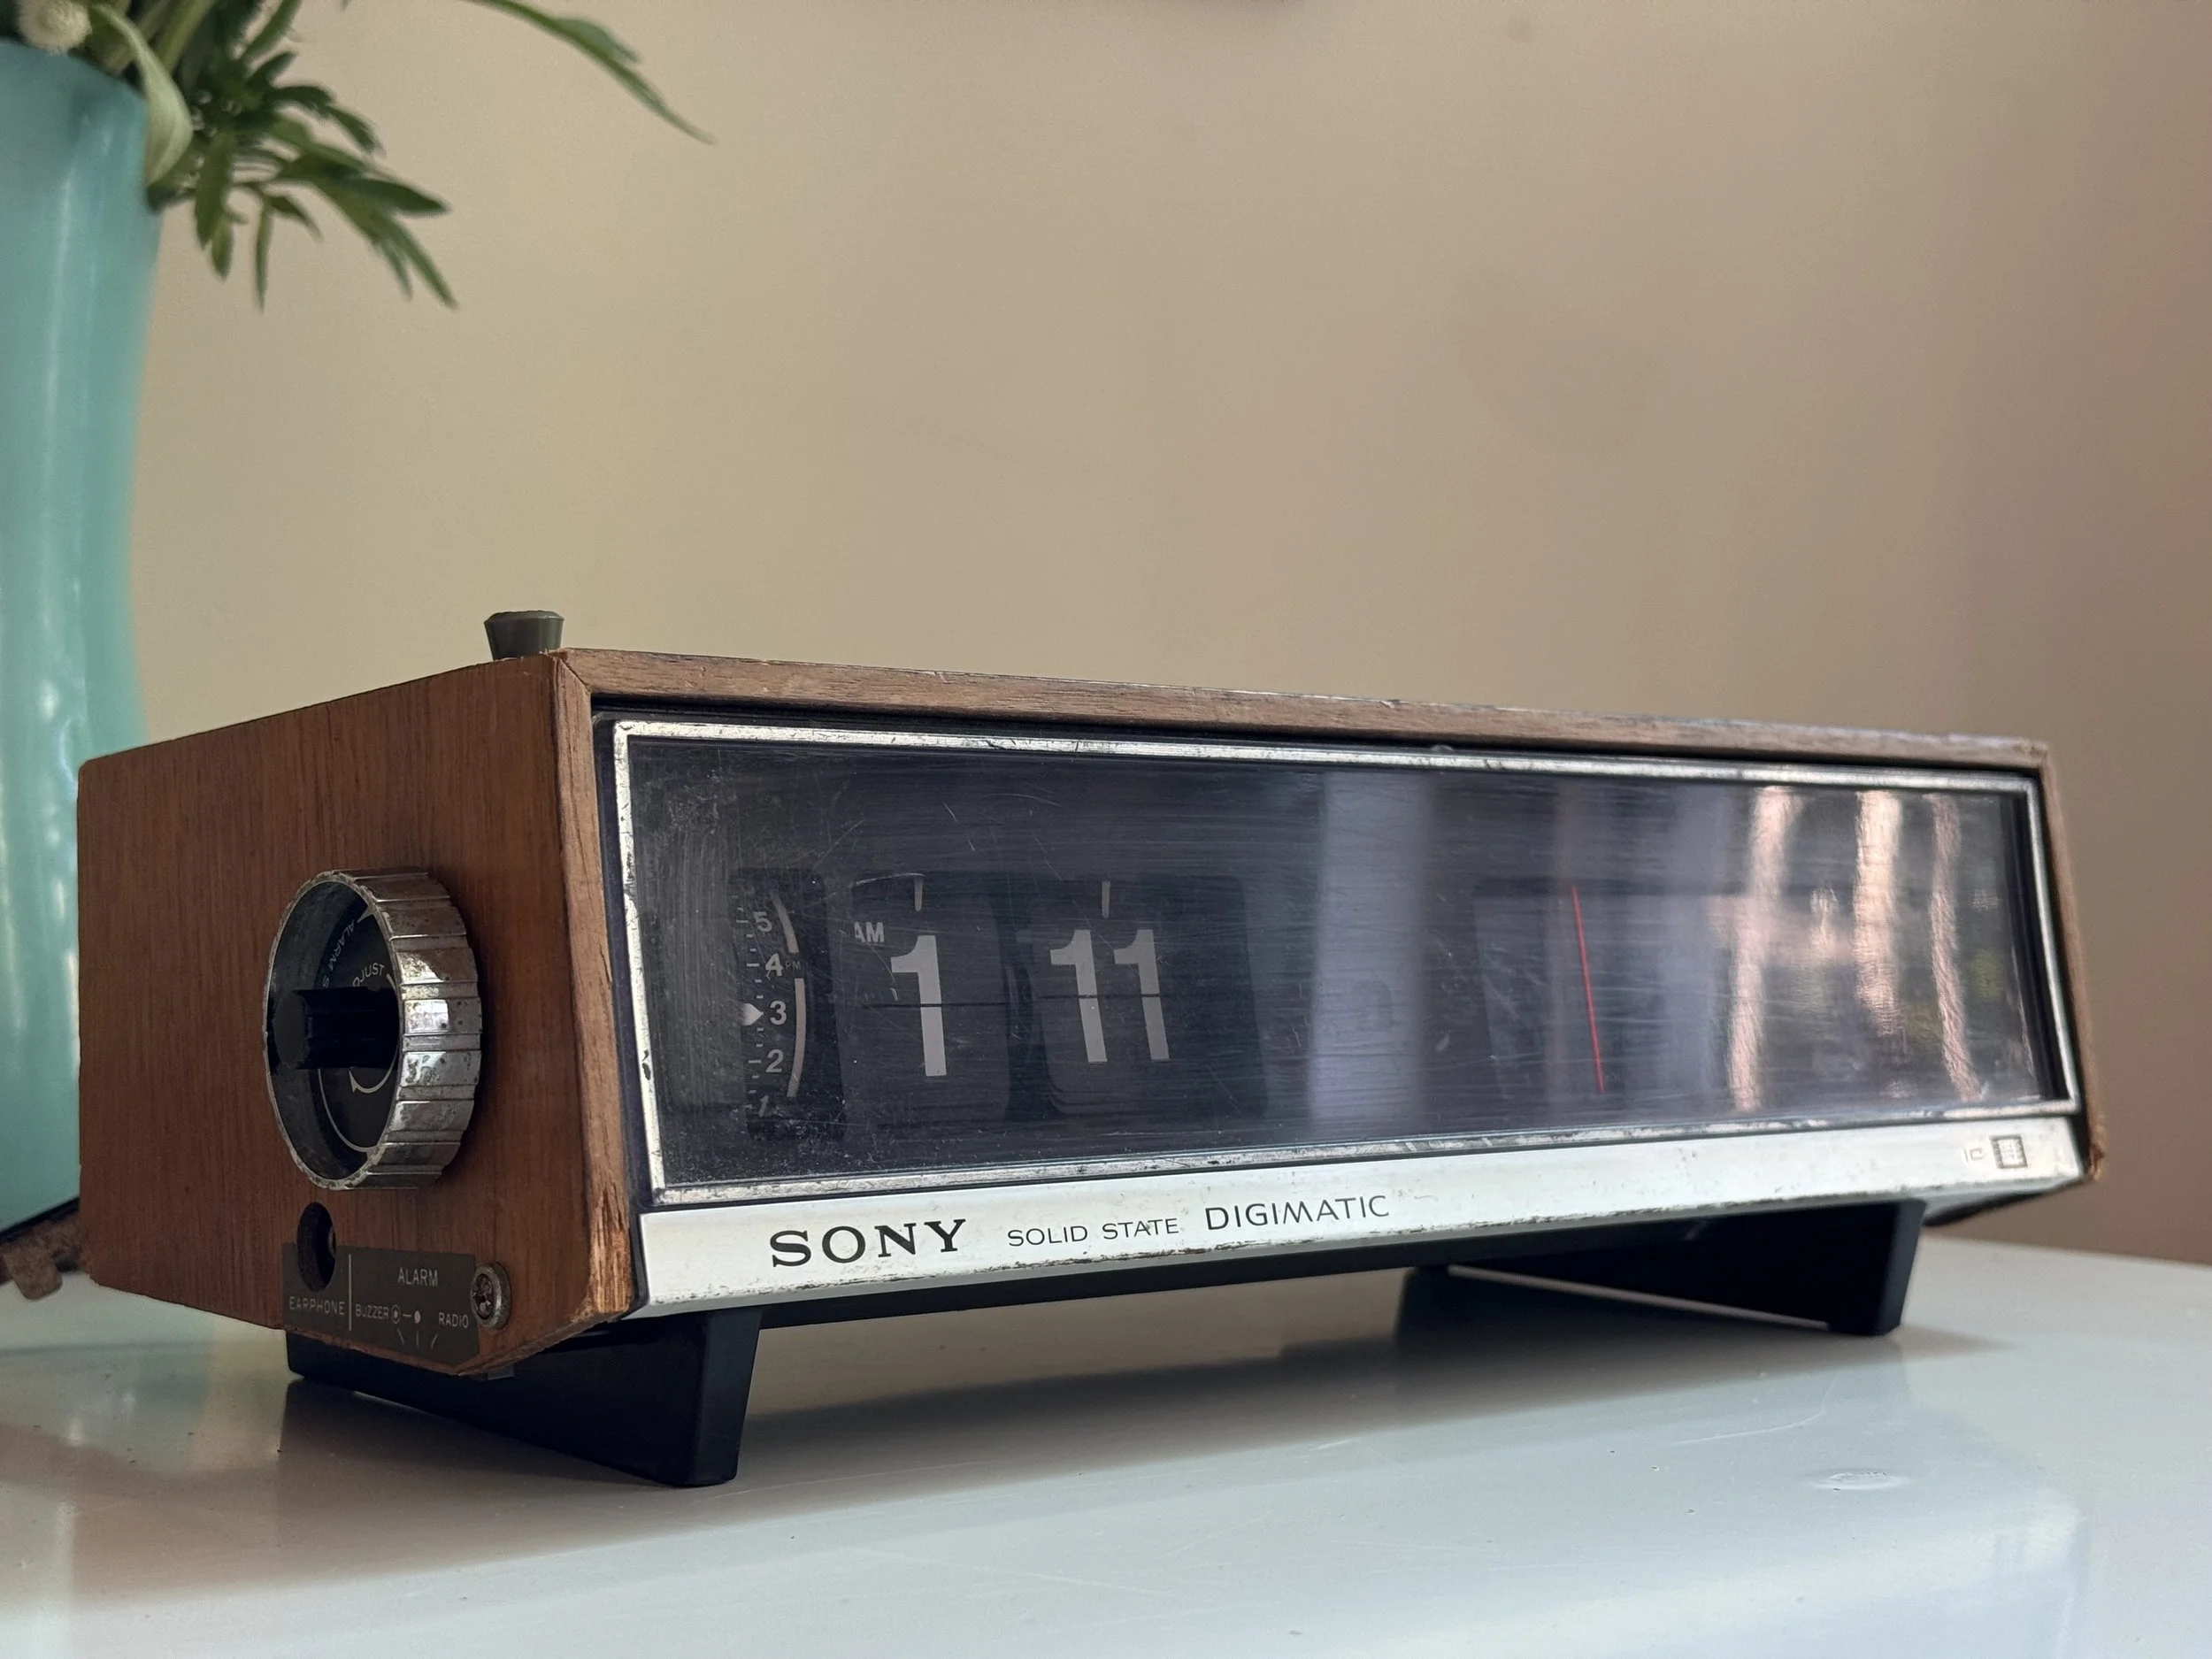
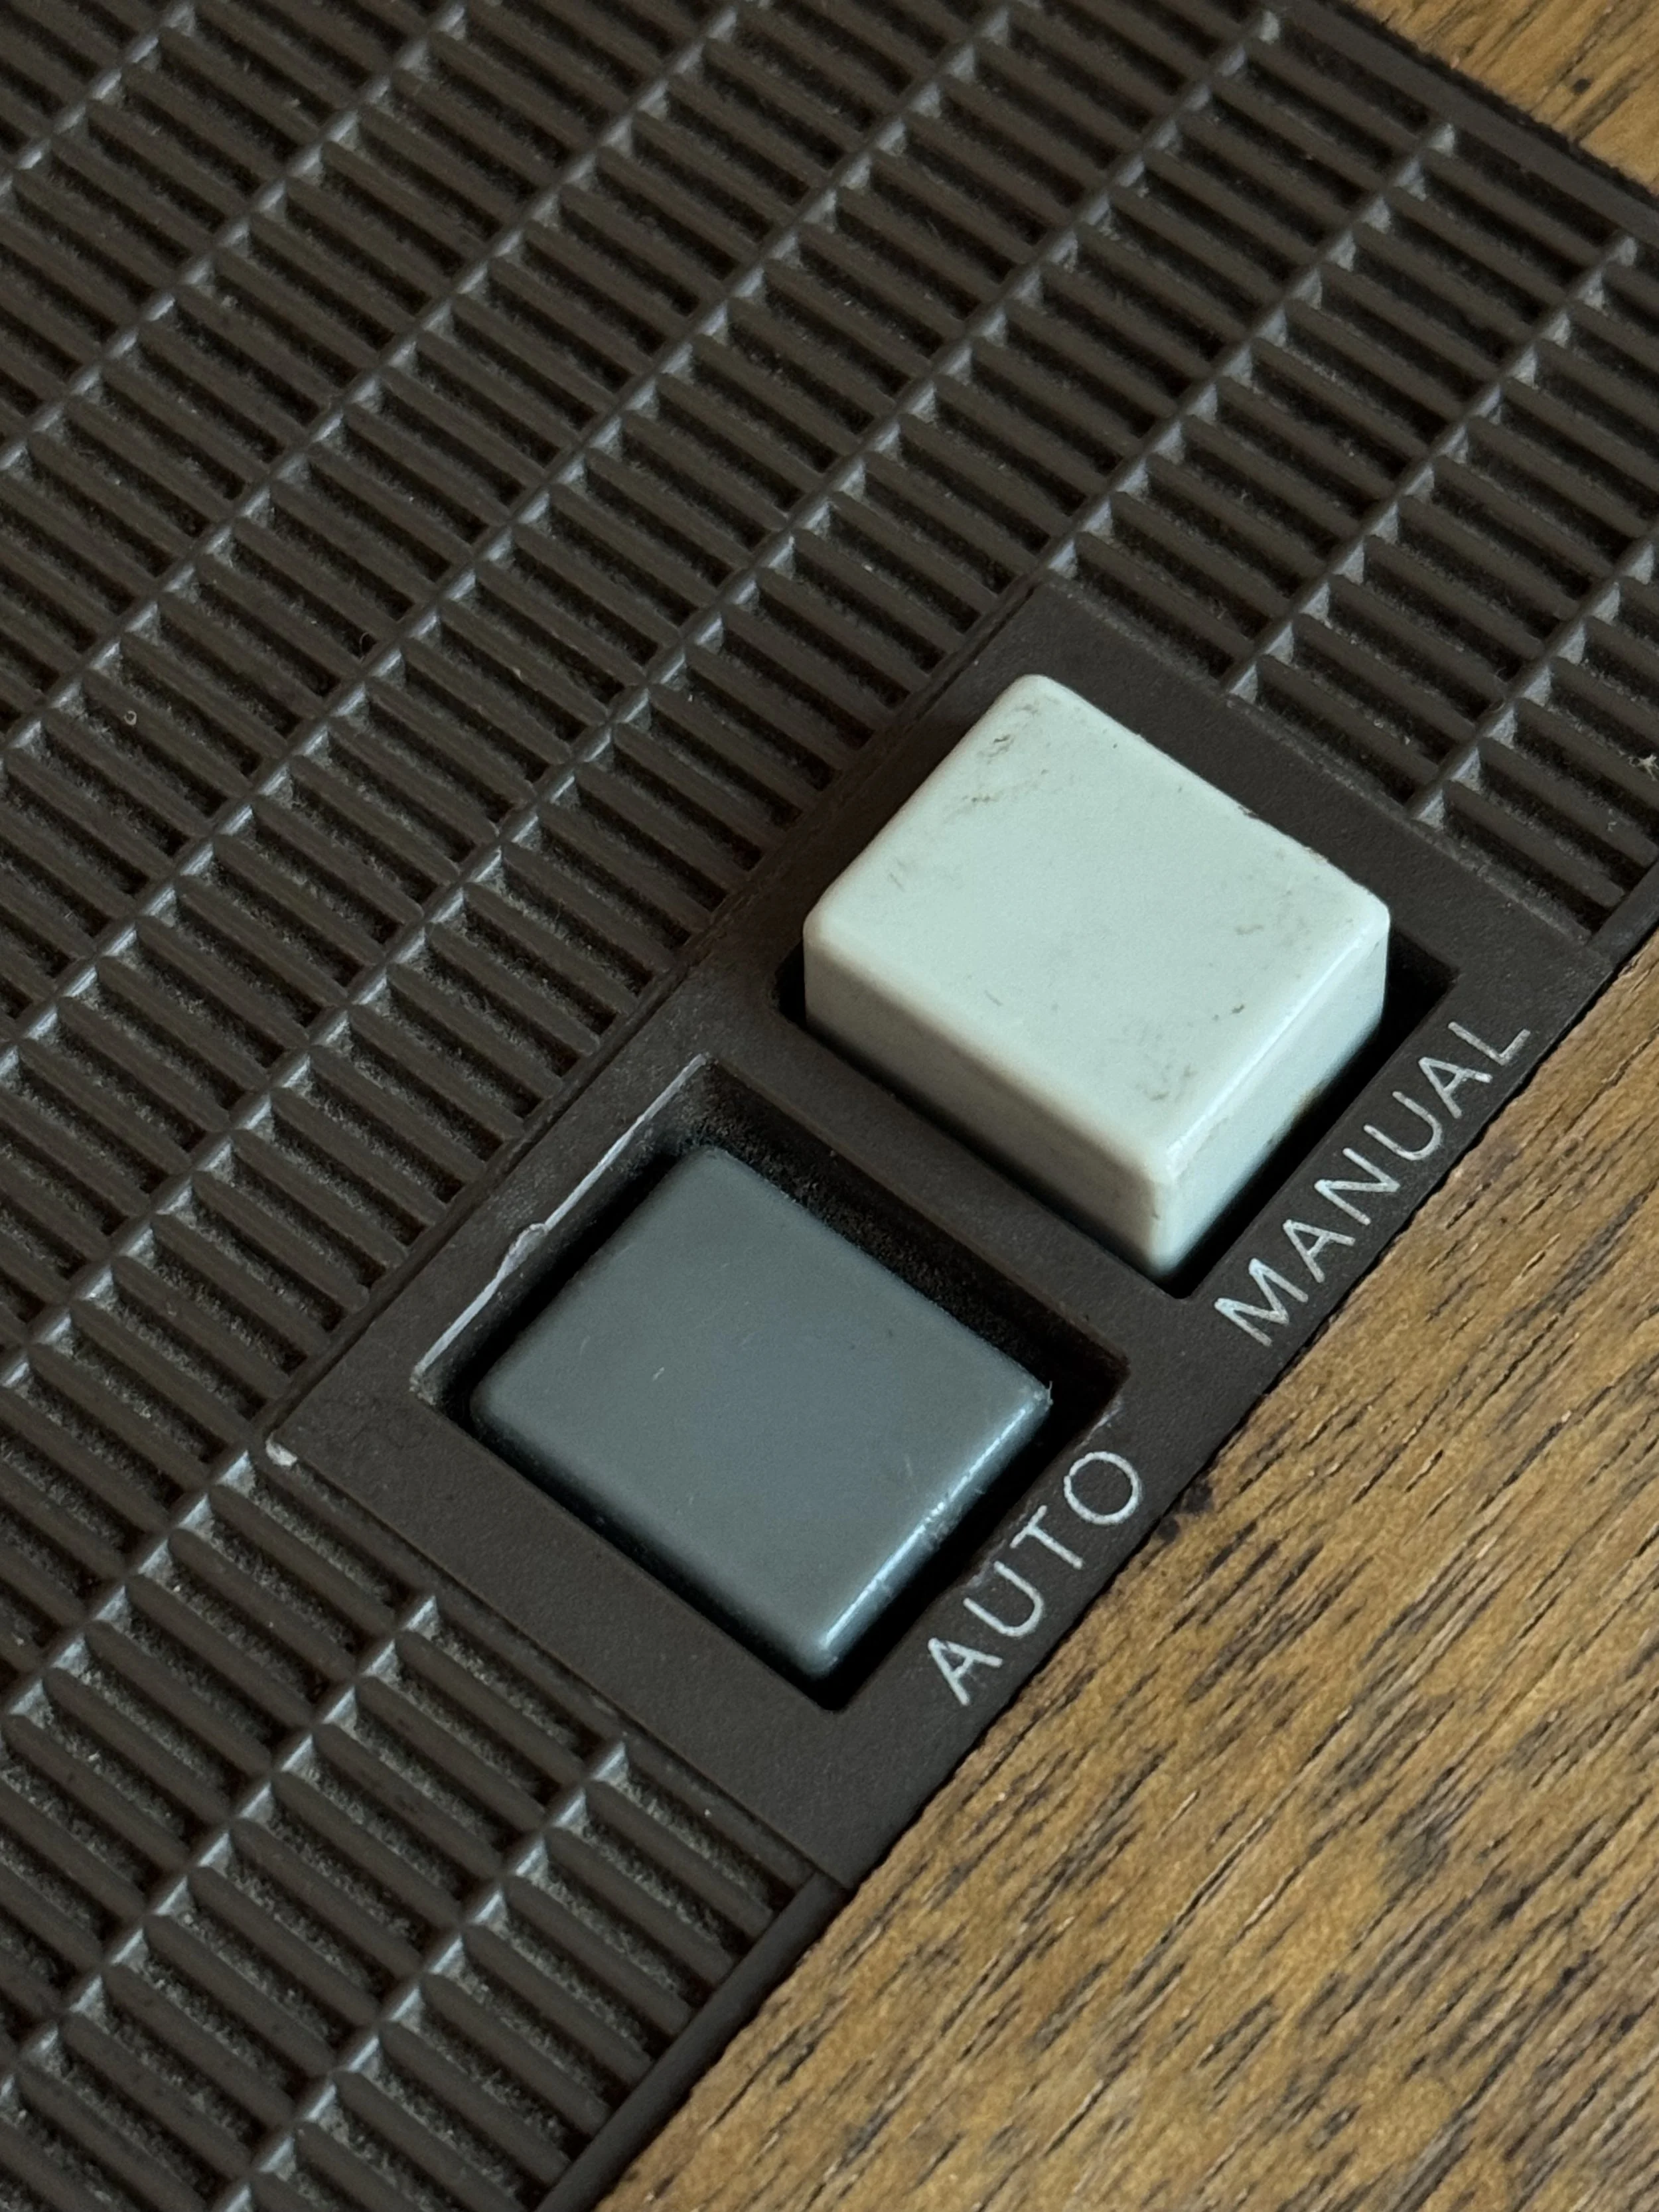
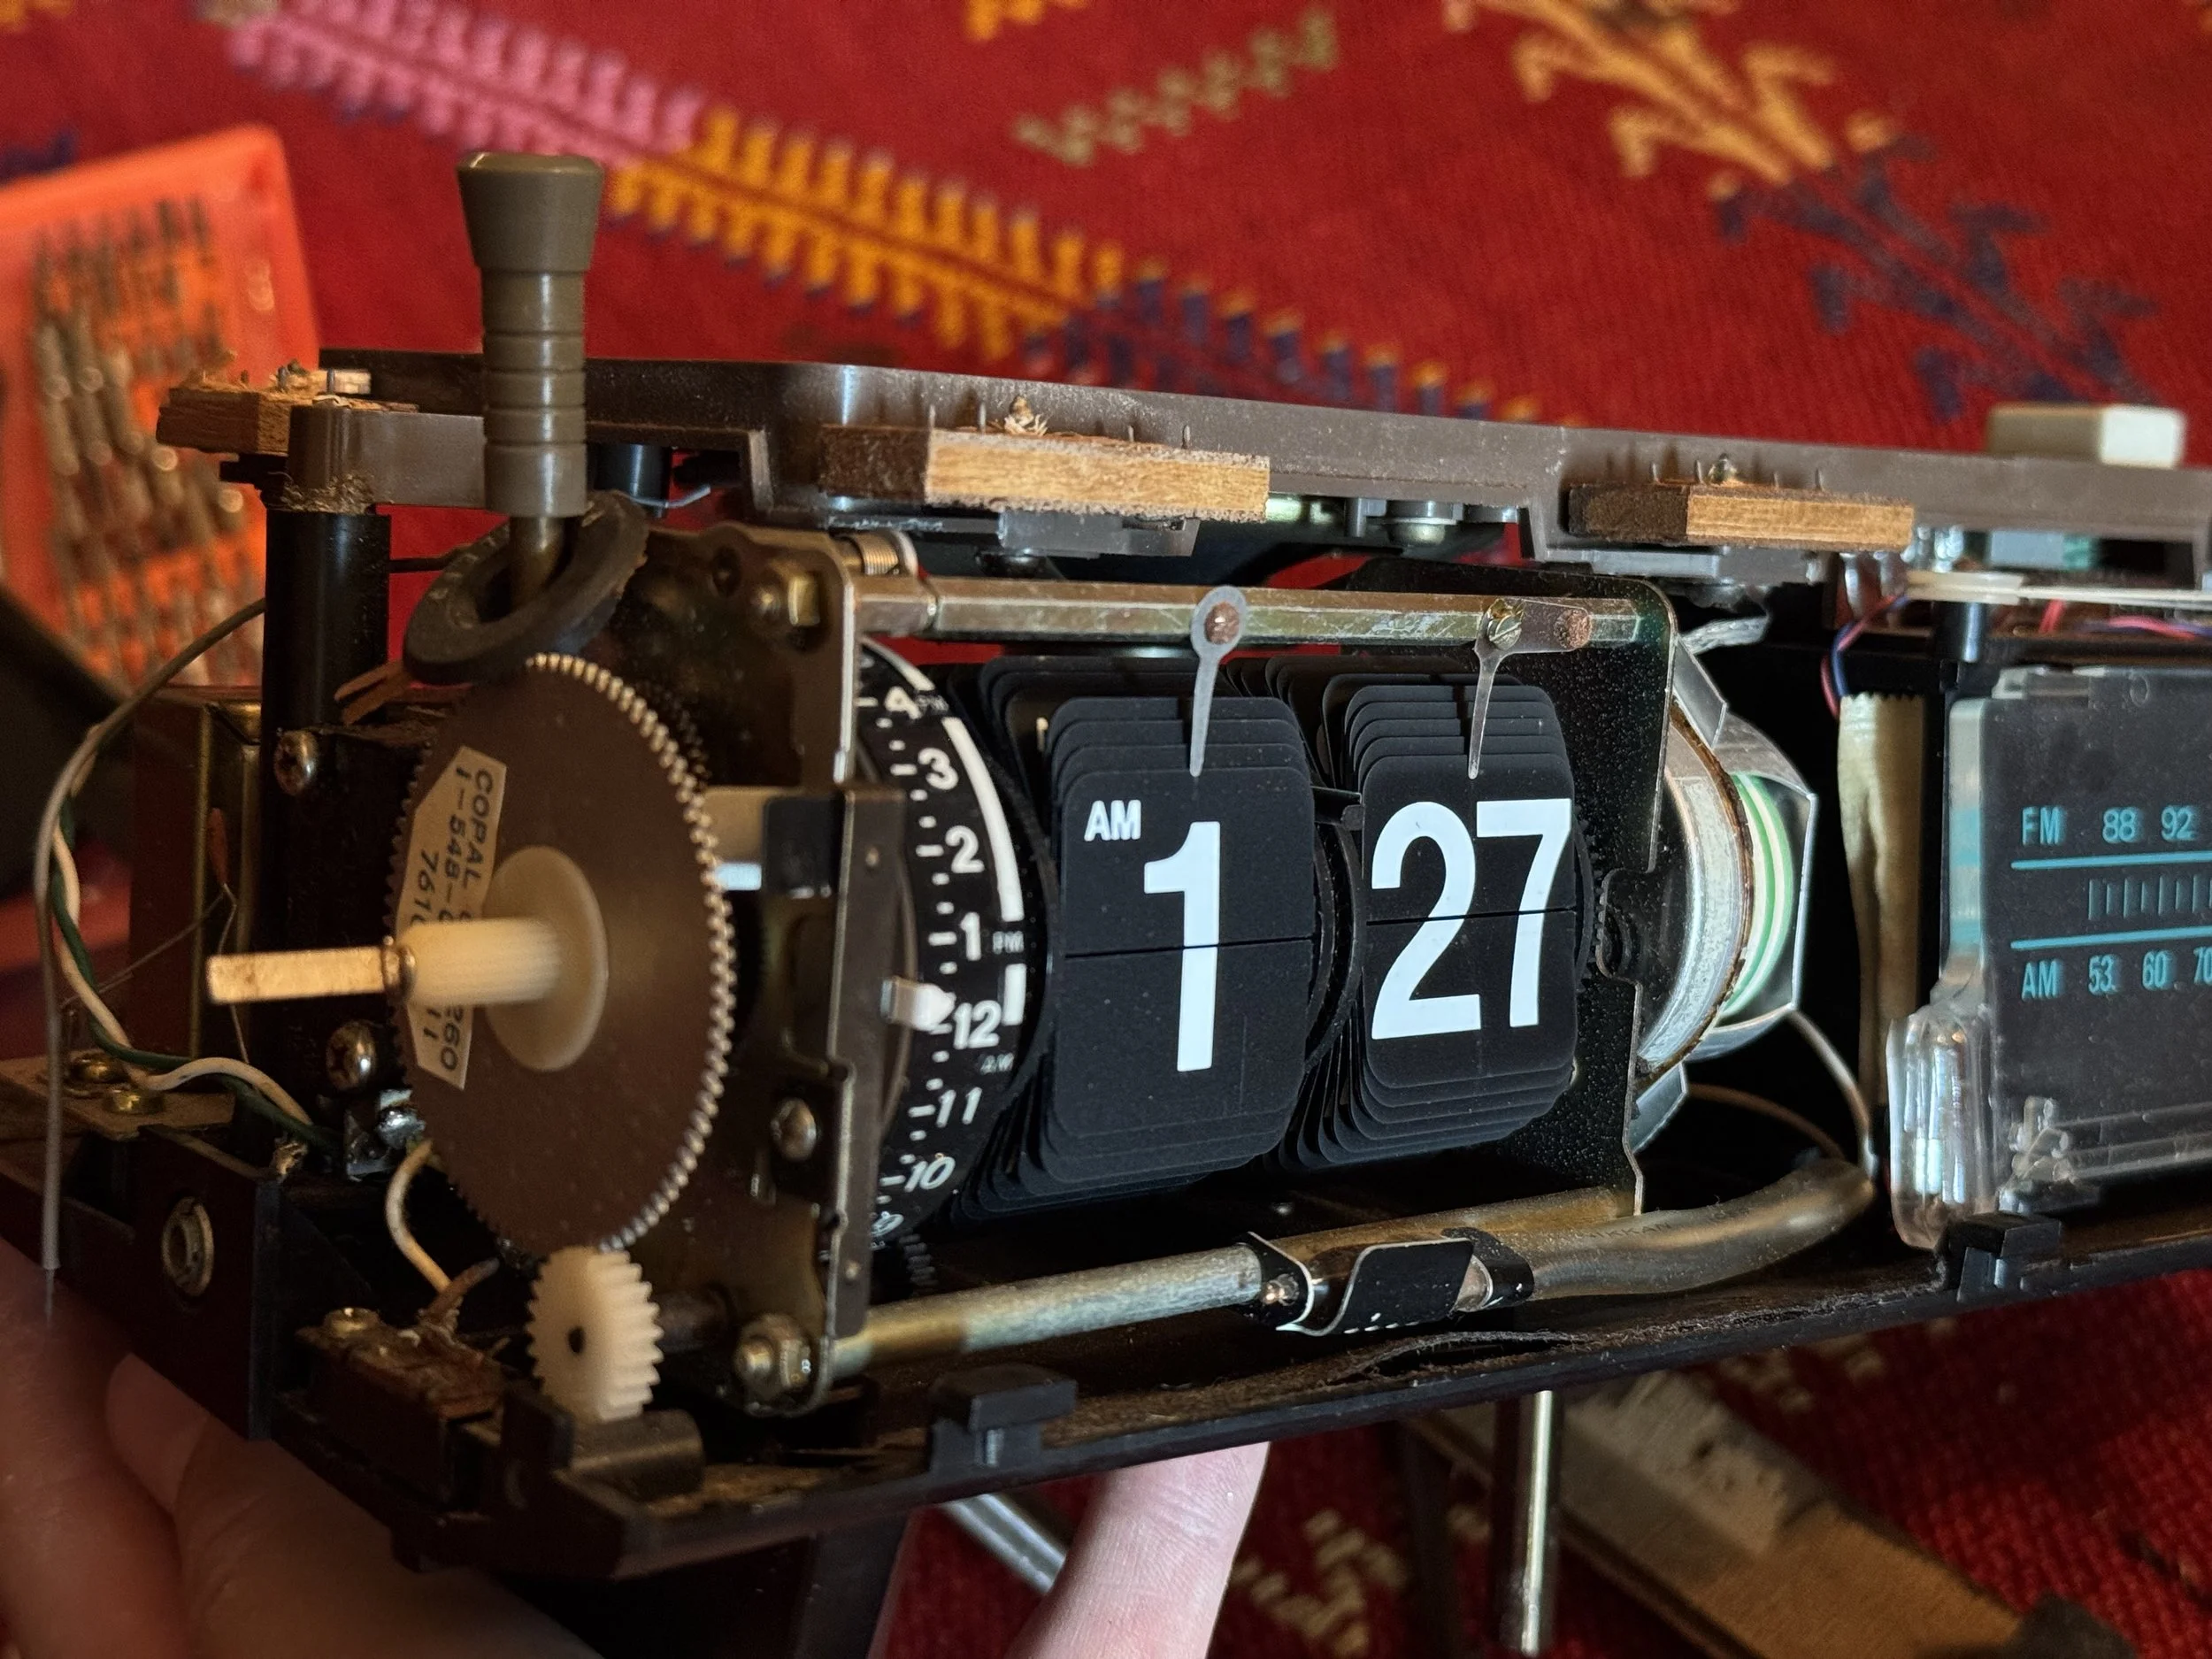
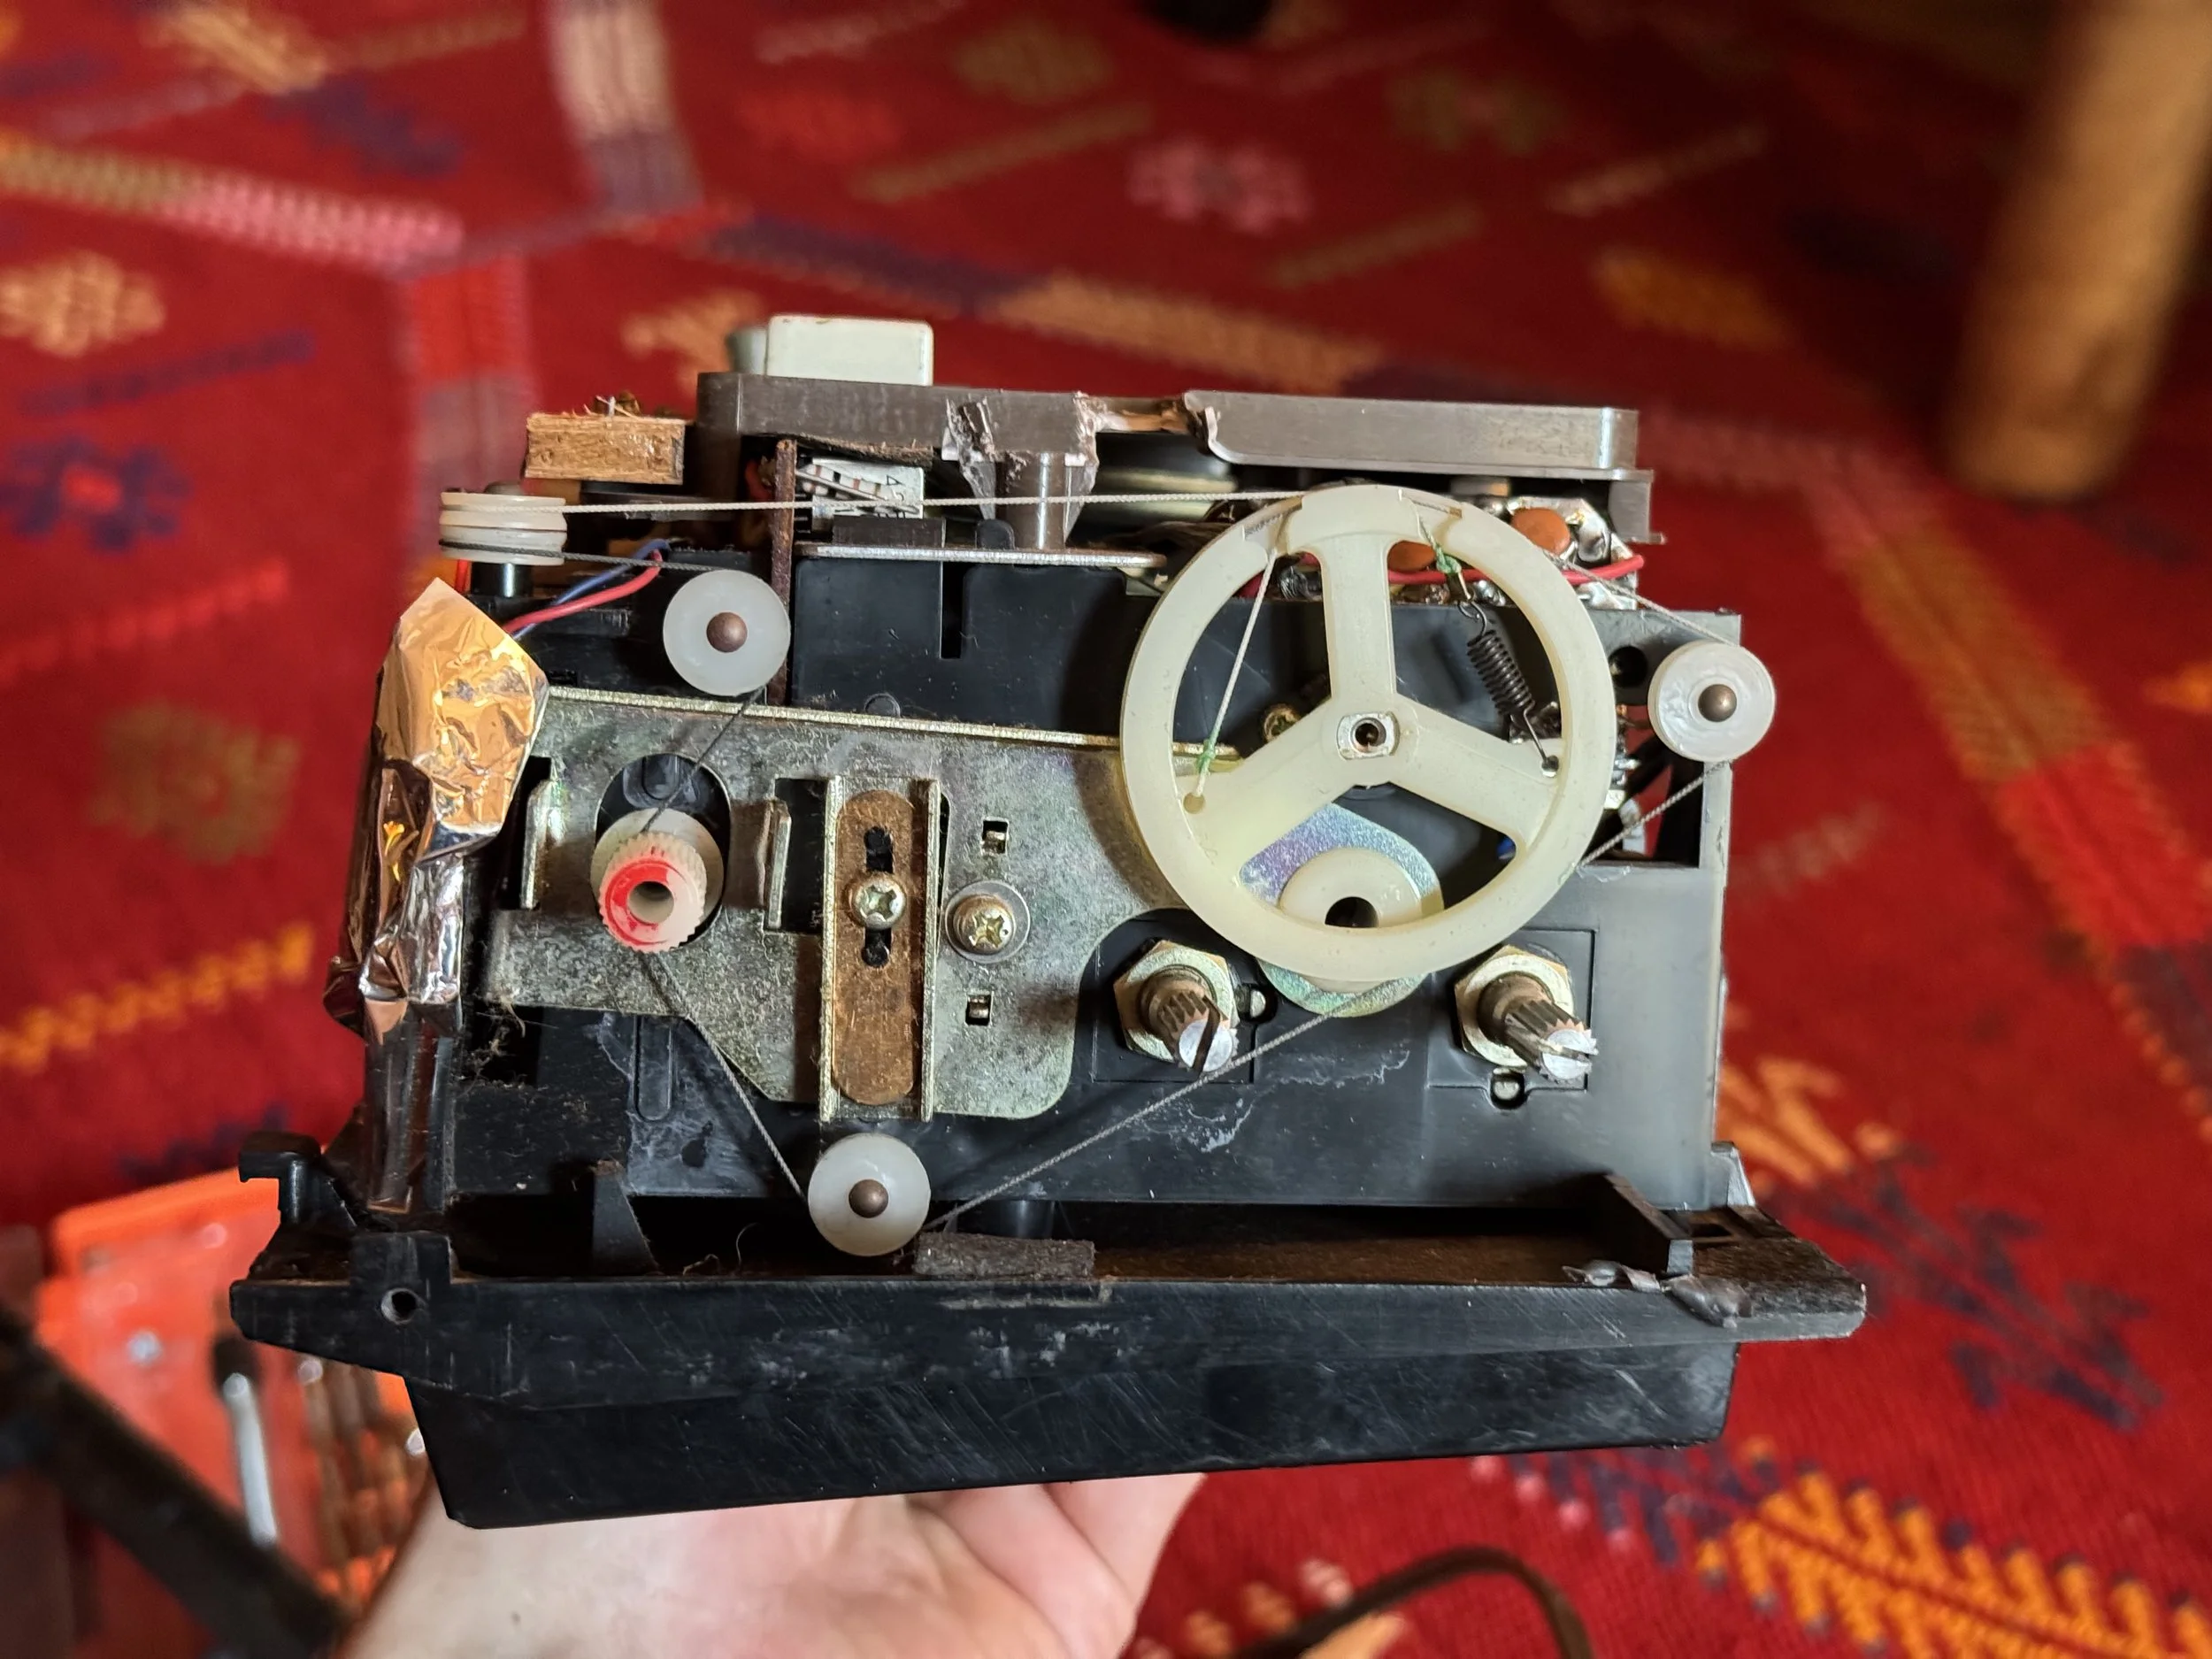
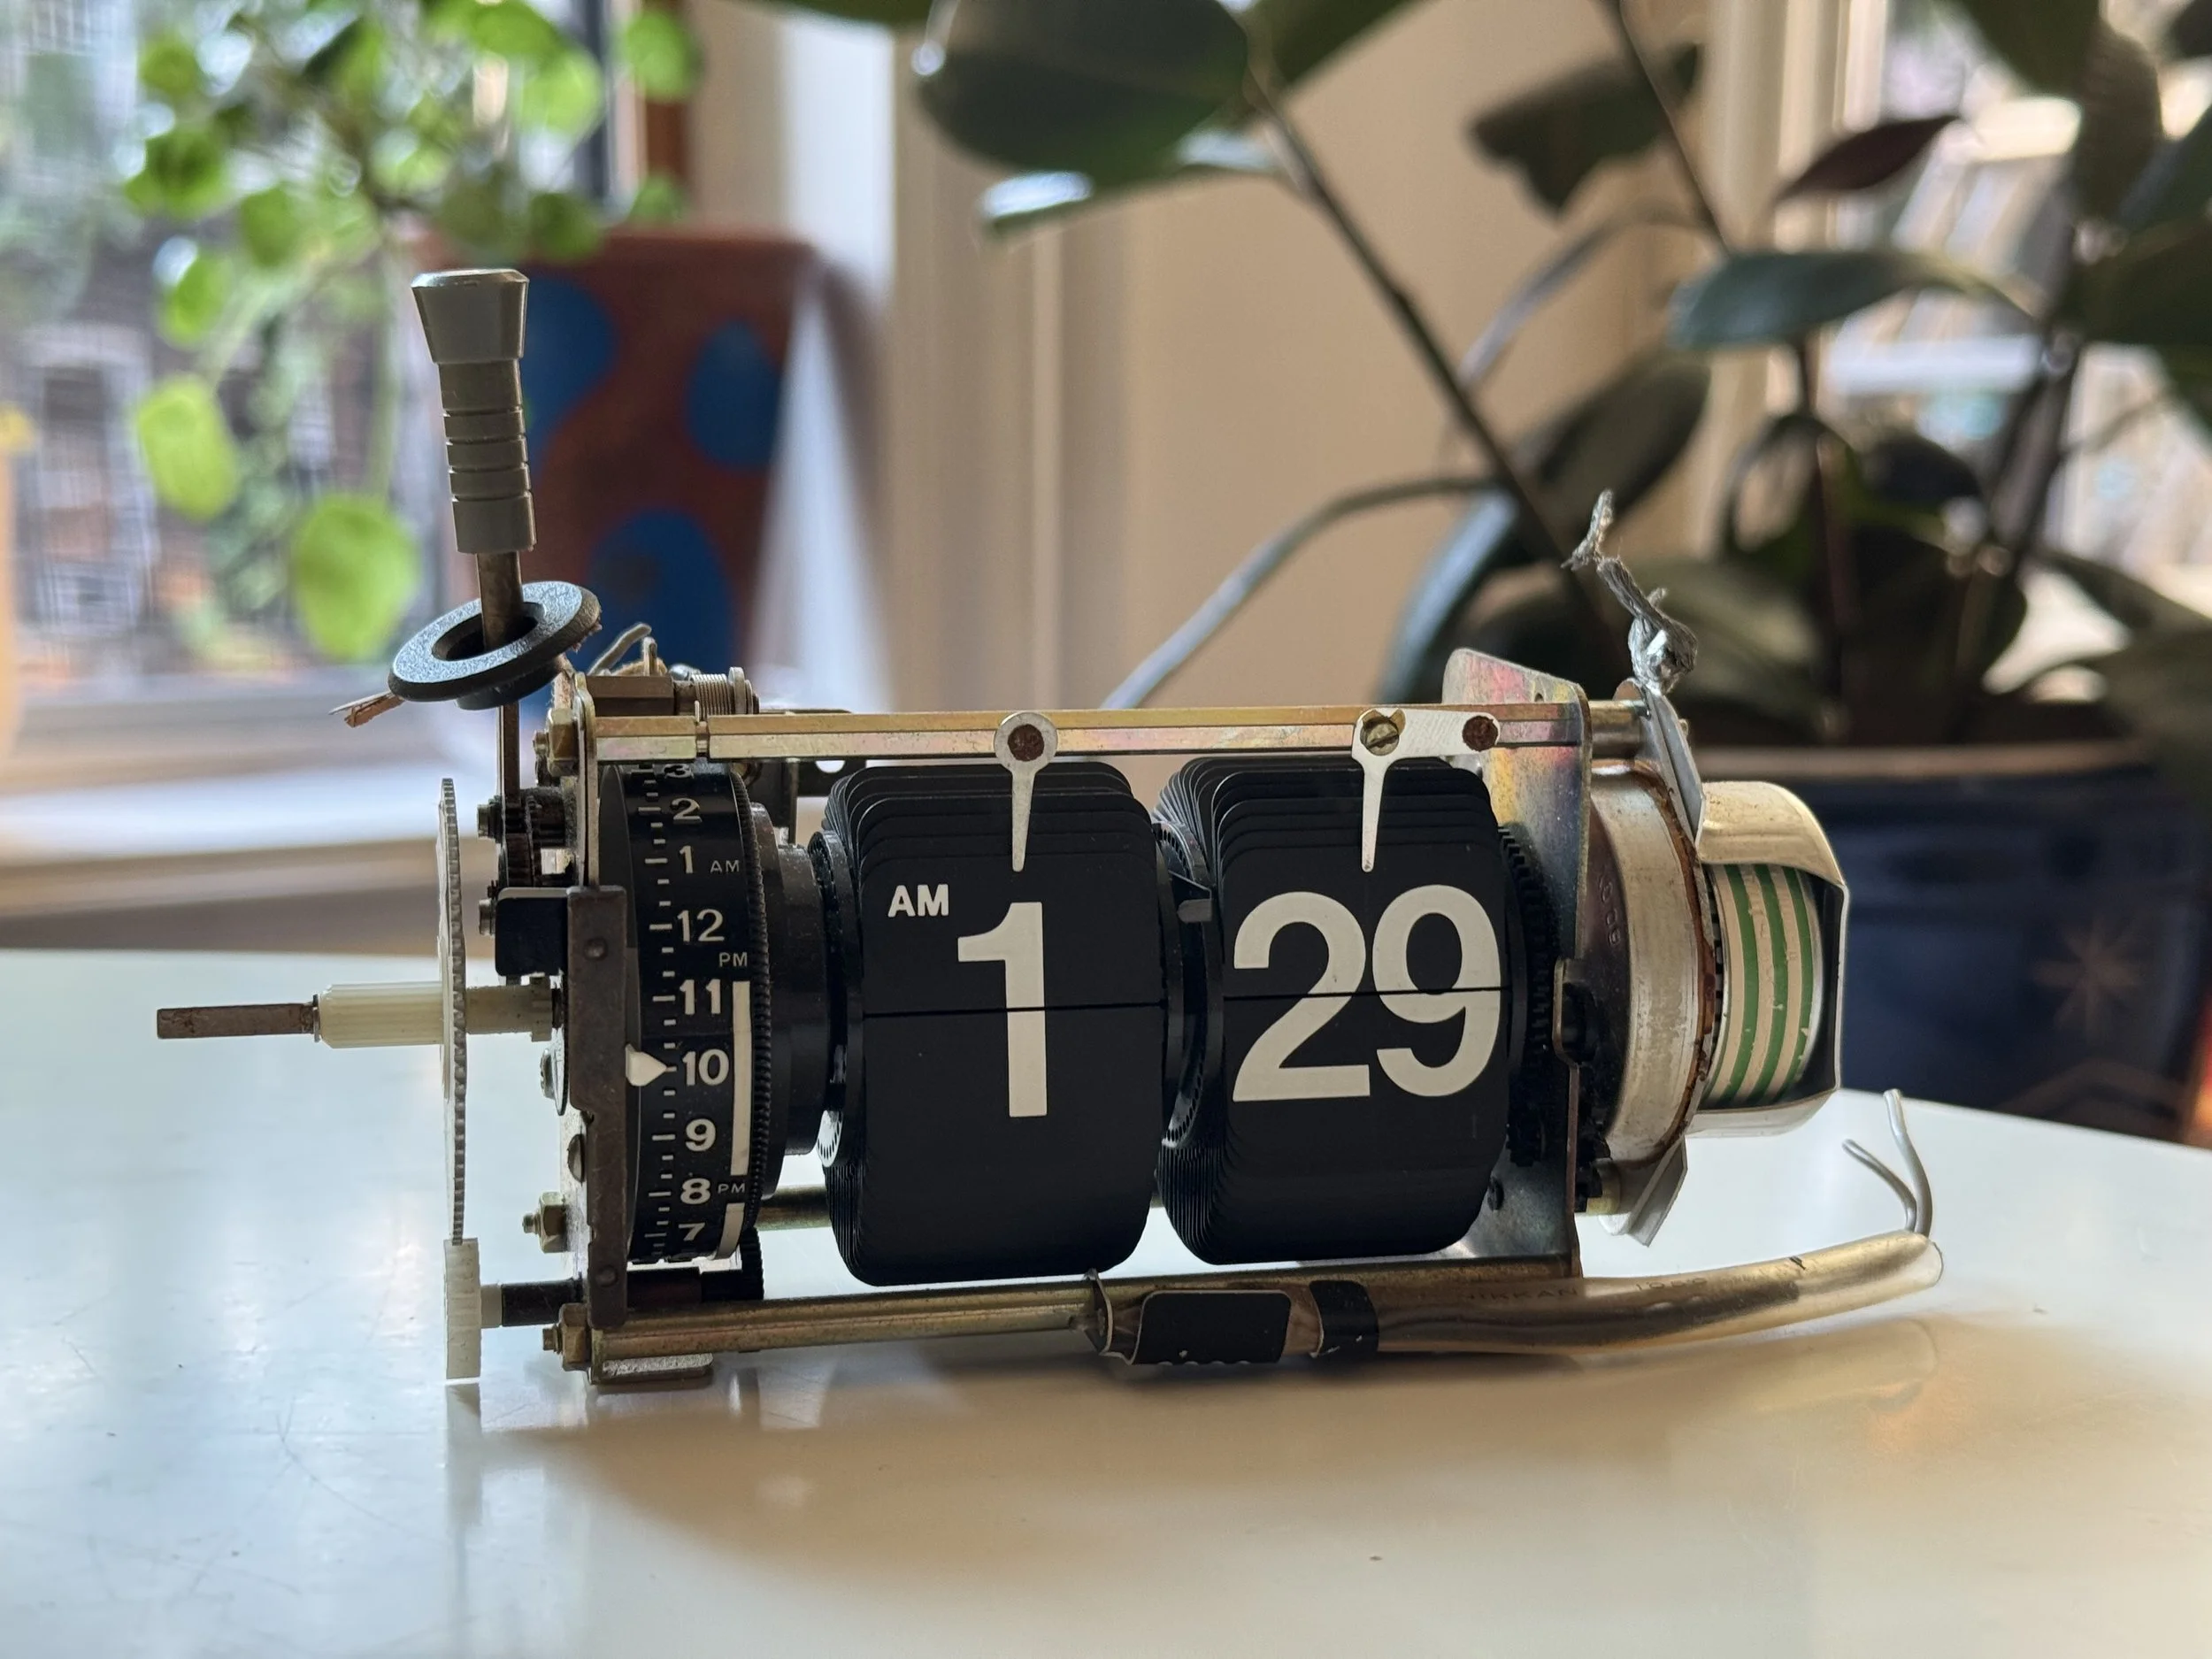
I found a non-functioning Sony 8FC-69WA in a Connecticut thrift store. I’ve always loved the aesthetic and mechanisms in split flap clock displays so I removed the clock module and rebuilt it into one of my own.
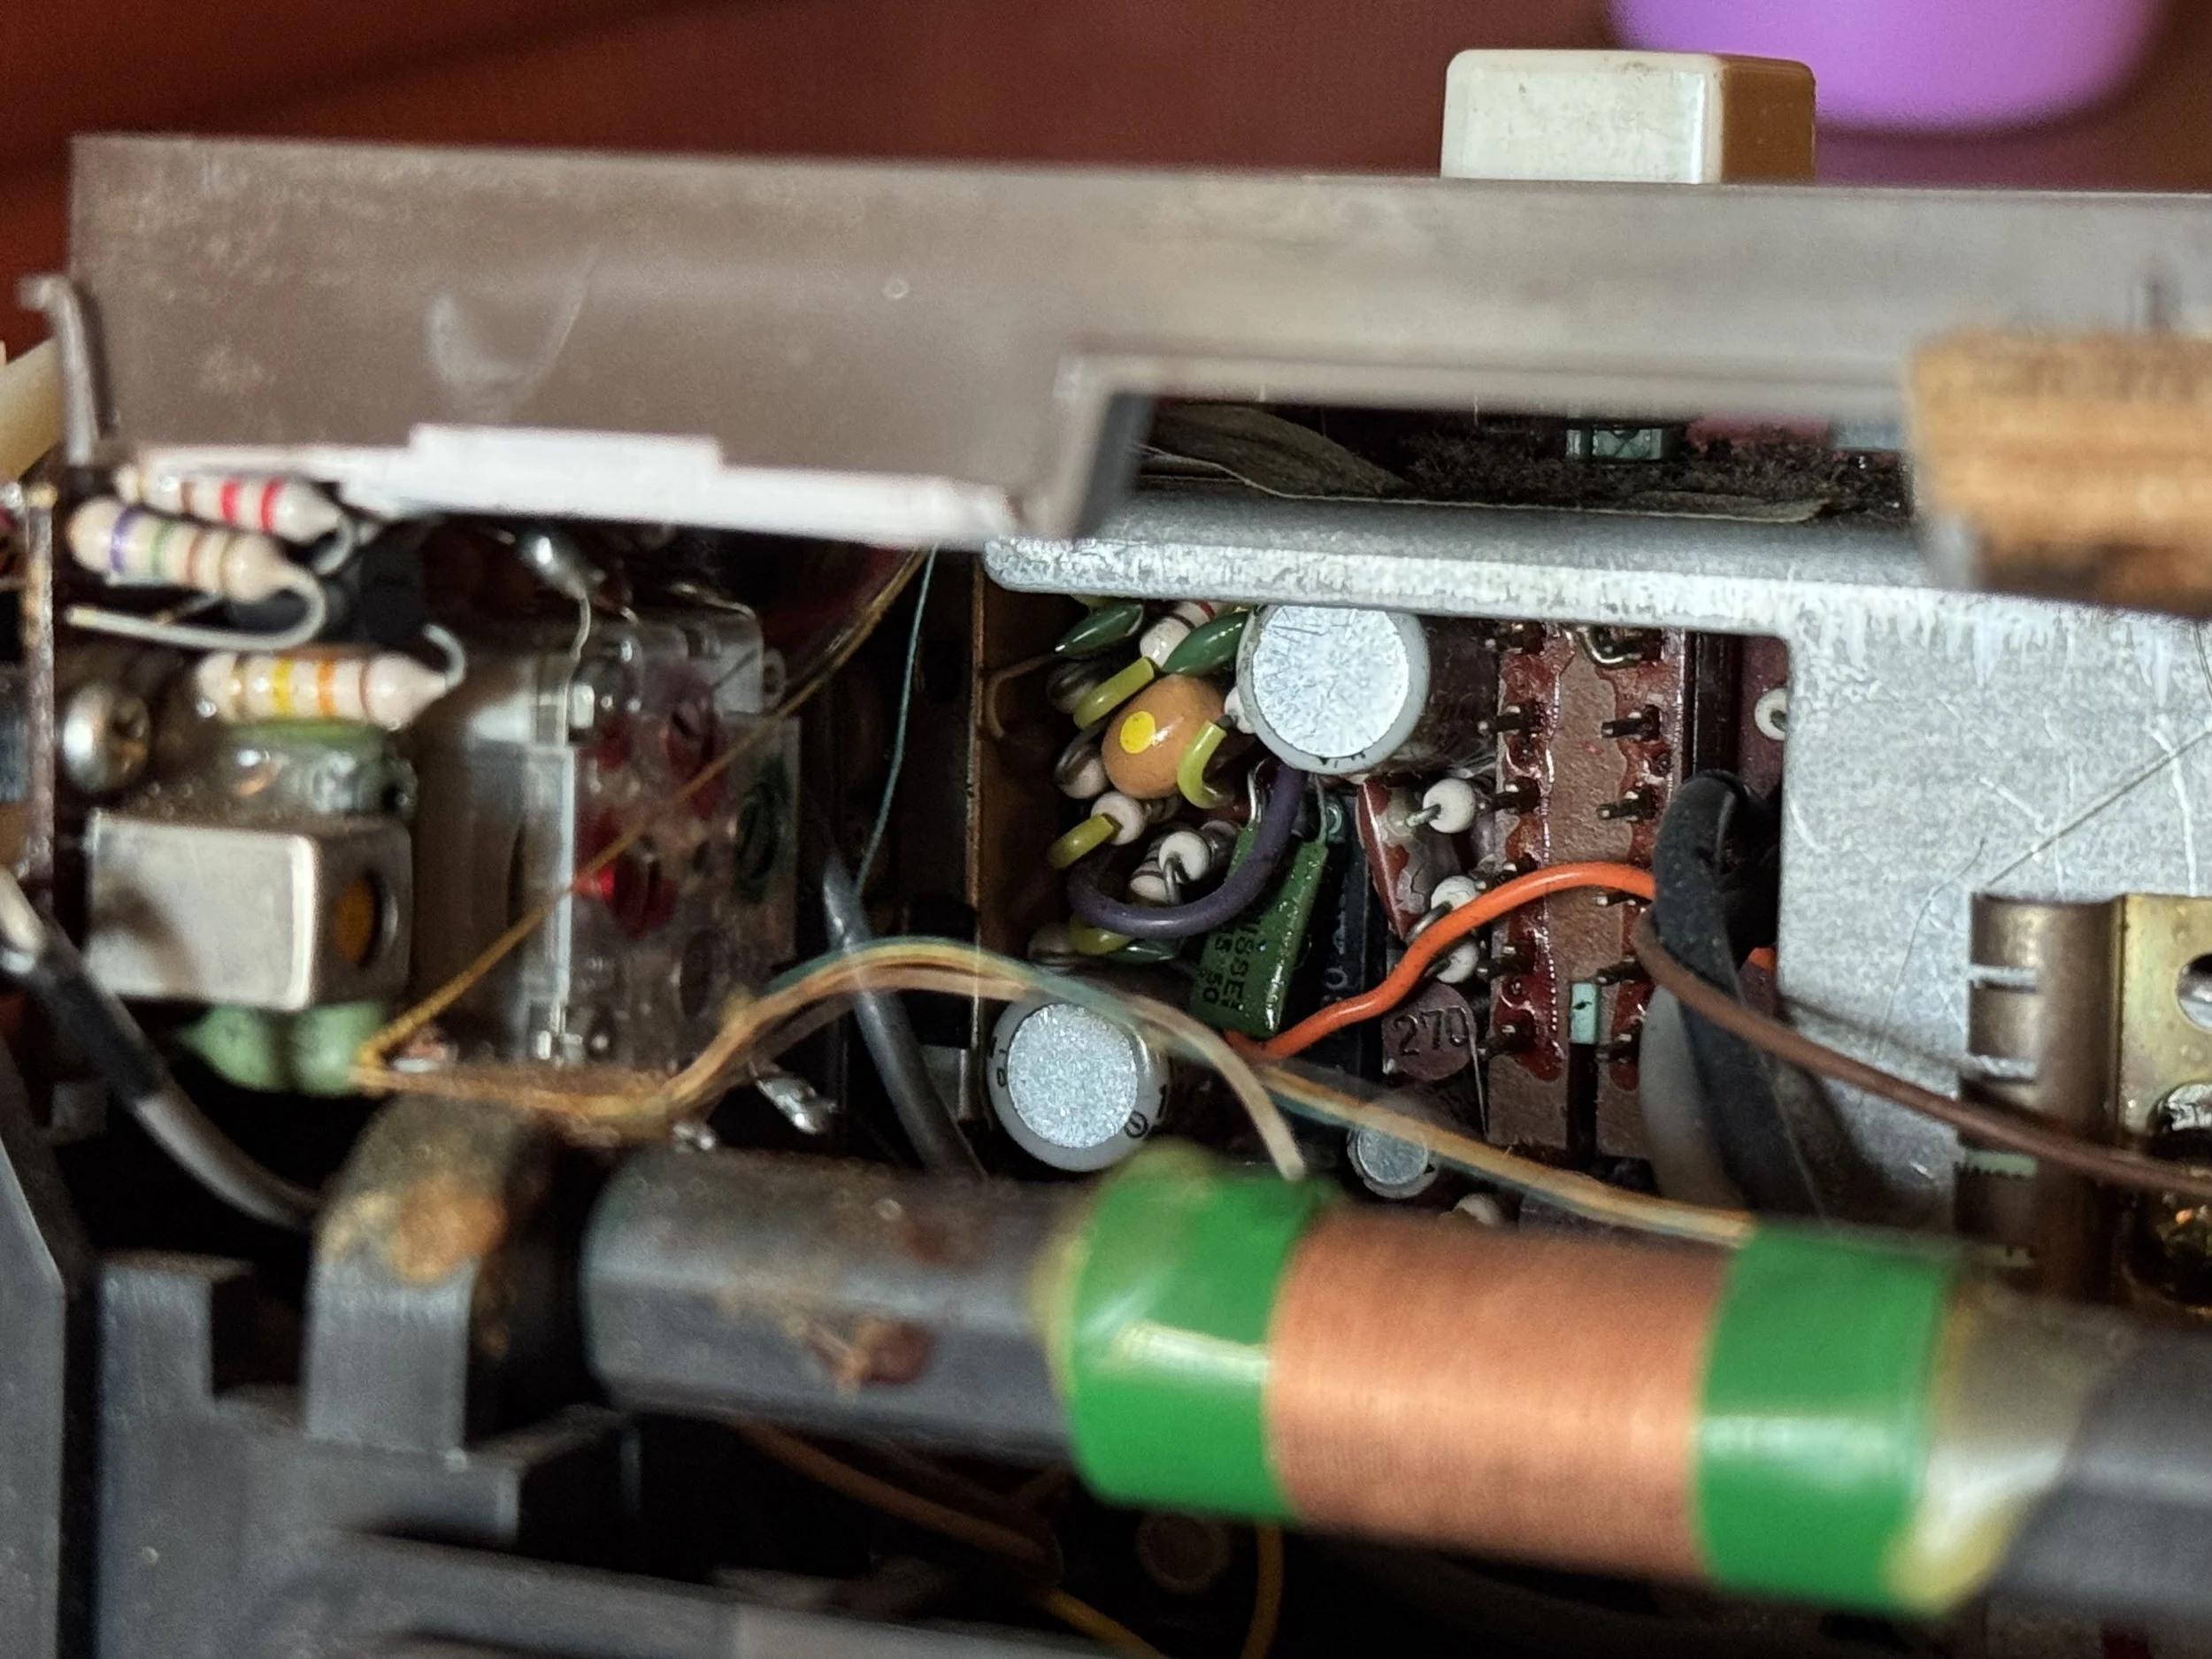
The teardown of the old clock was fascinating. It is unbelievable to me that a design like this was made at scale and made available so cheap. The density of components and complexity of design was well beyond what I could imagine was inside.
The clock uses a synchronous motor to keep time, using the 60Hz frequency of the incoming AC to spin at a constant rate. Despite my best efforts to repair it, the motor was dead, and no replacements were available online.
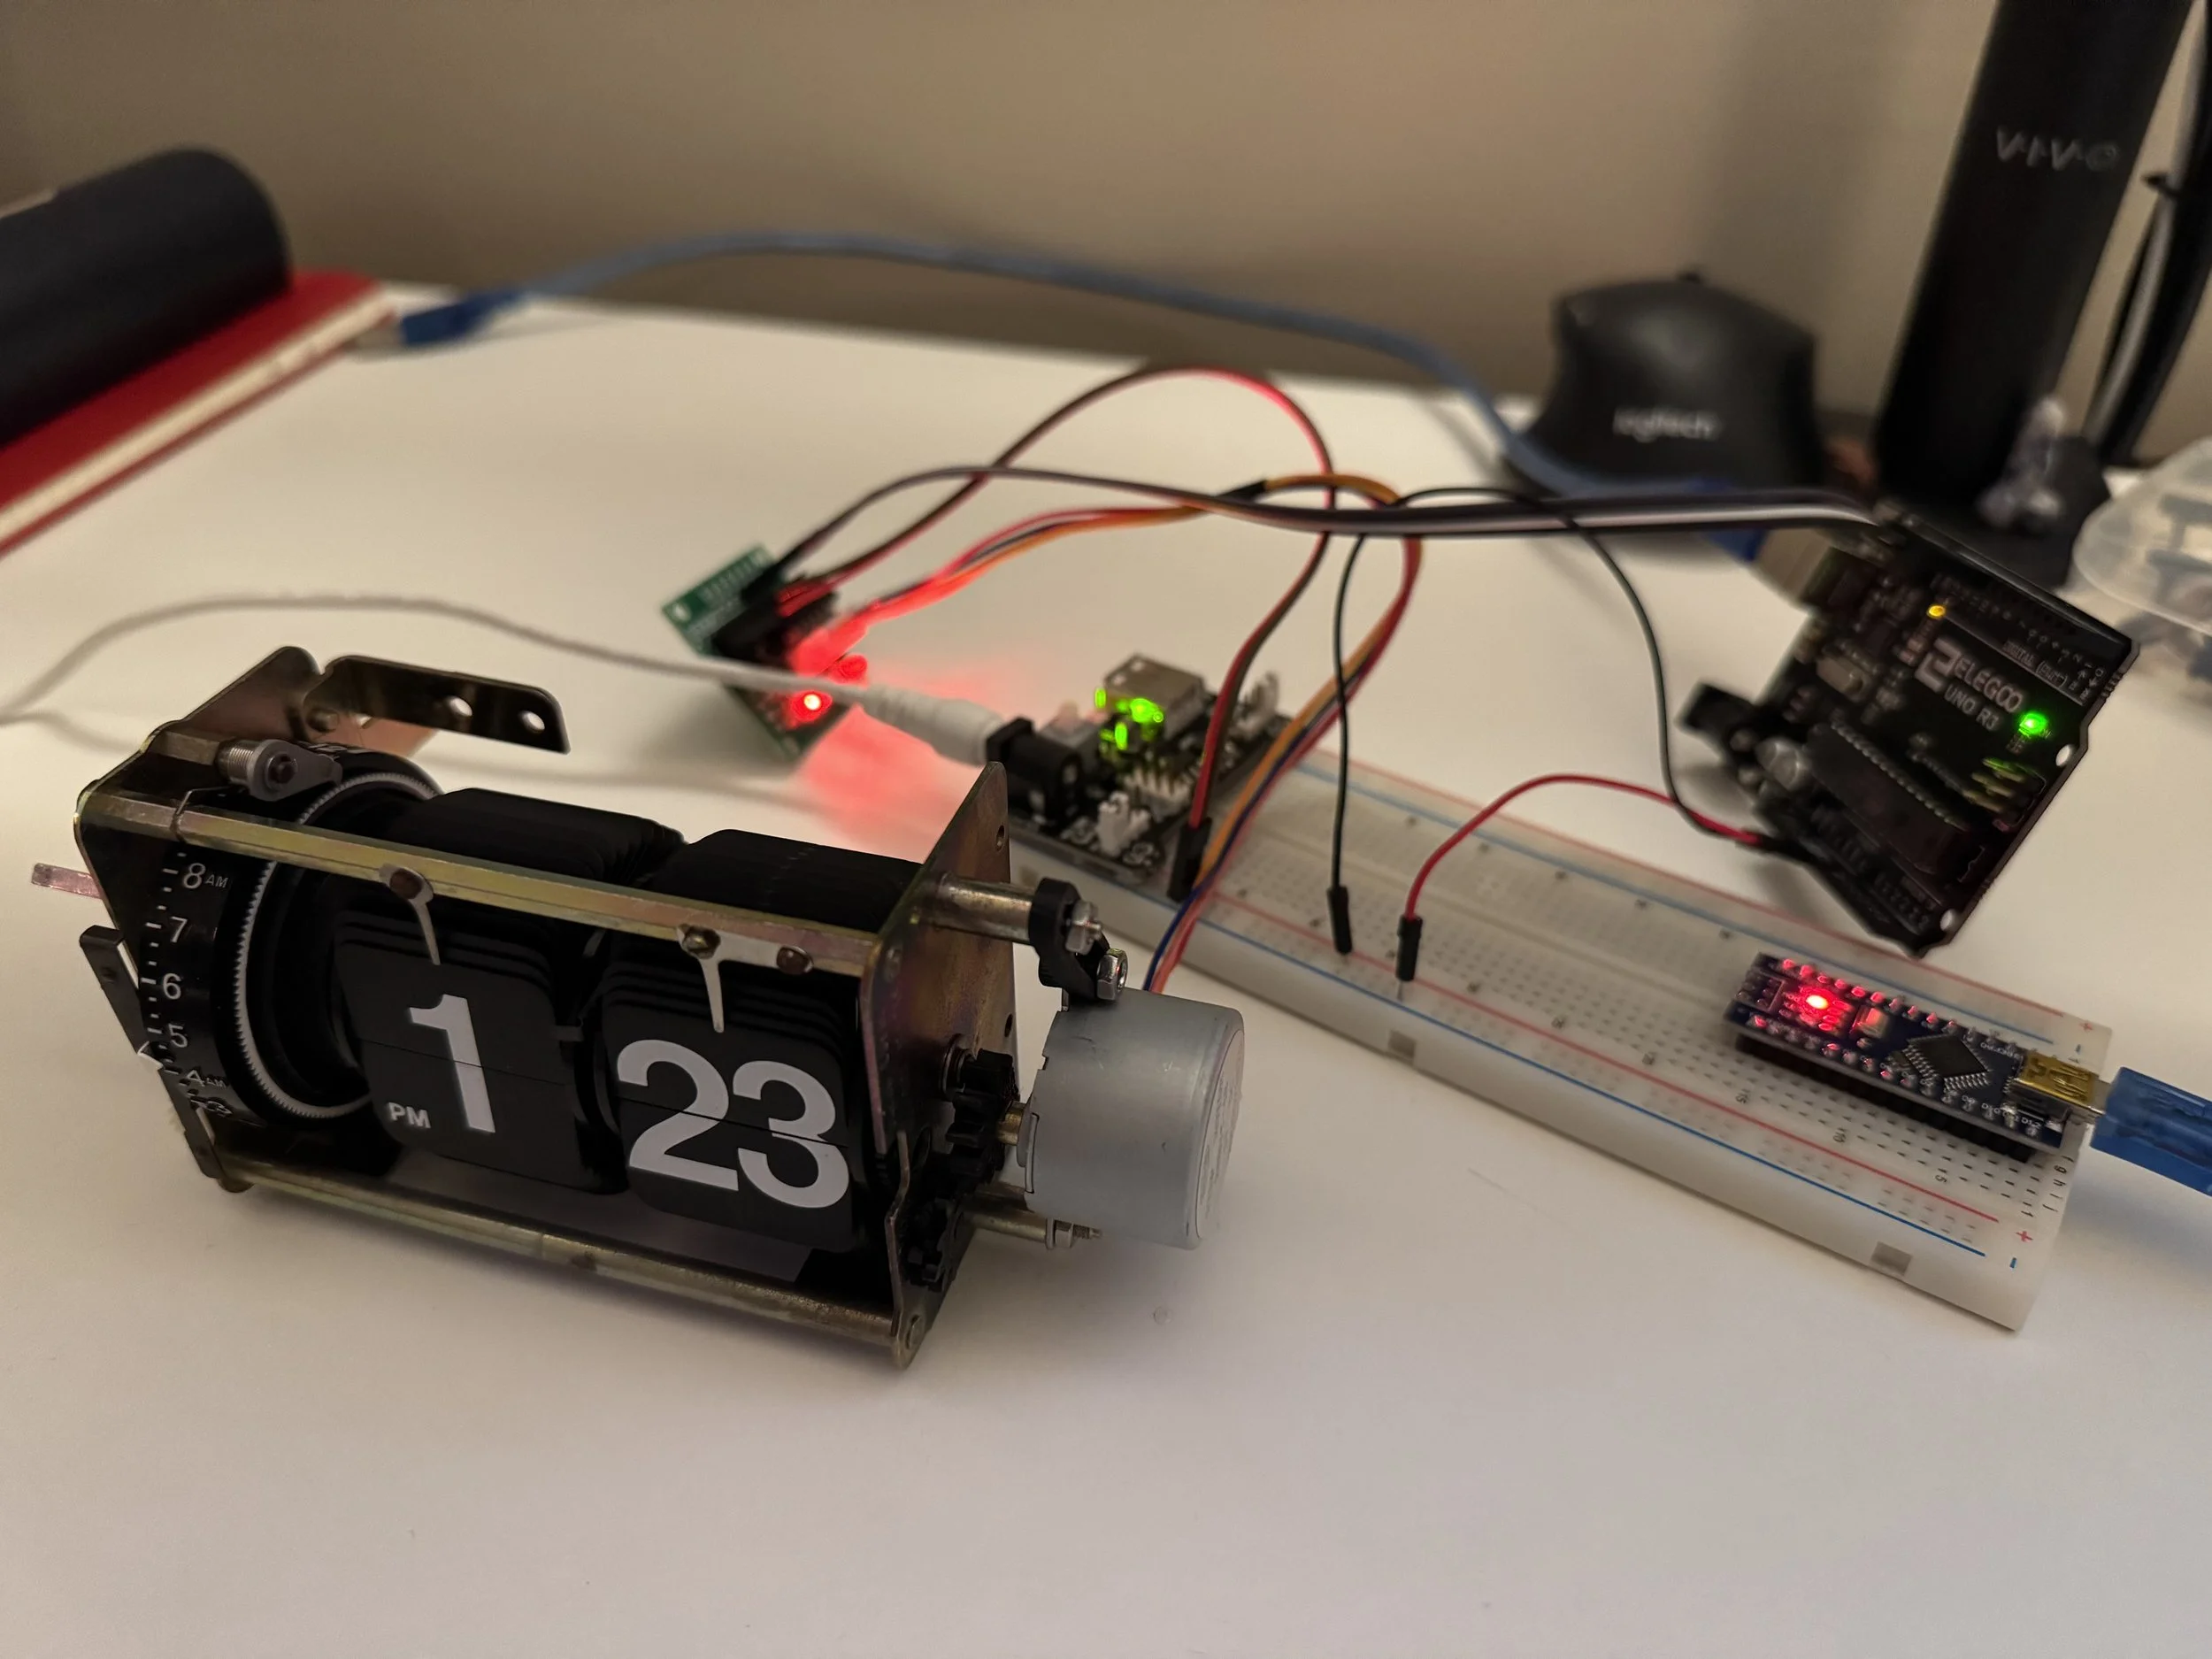
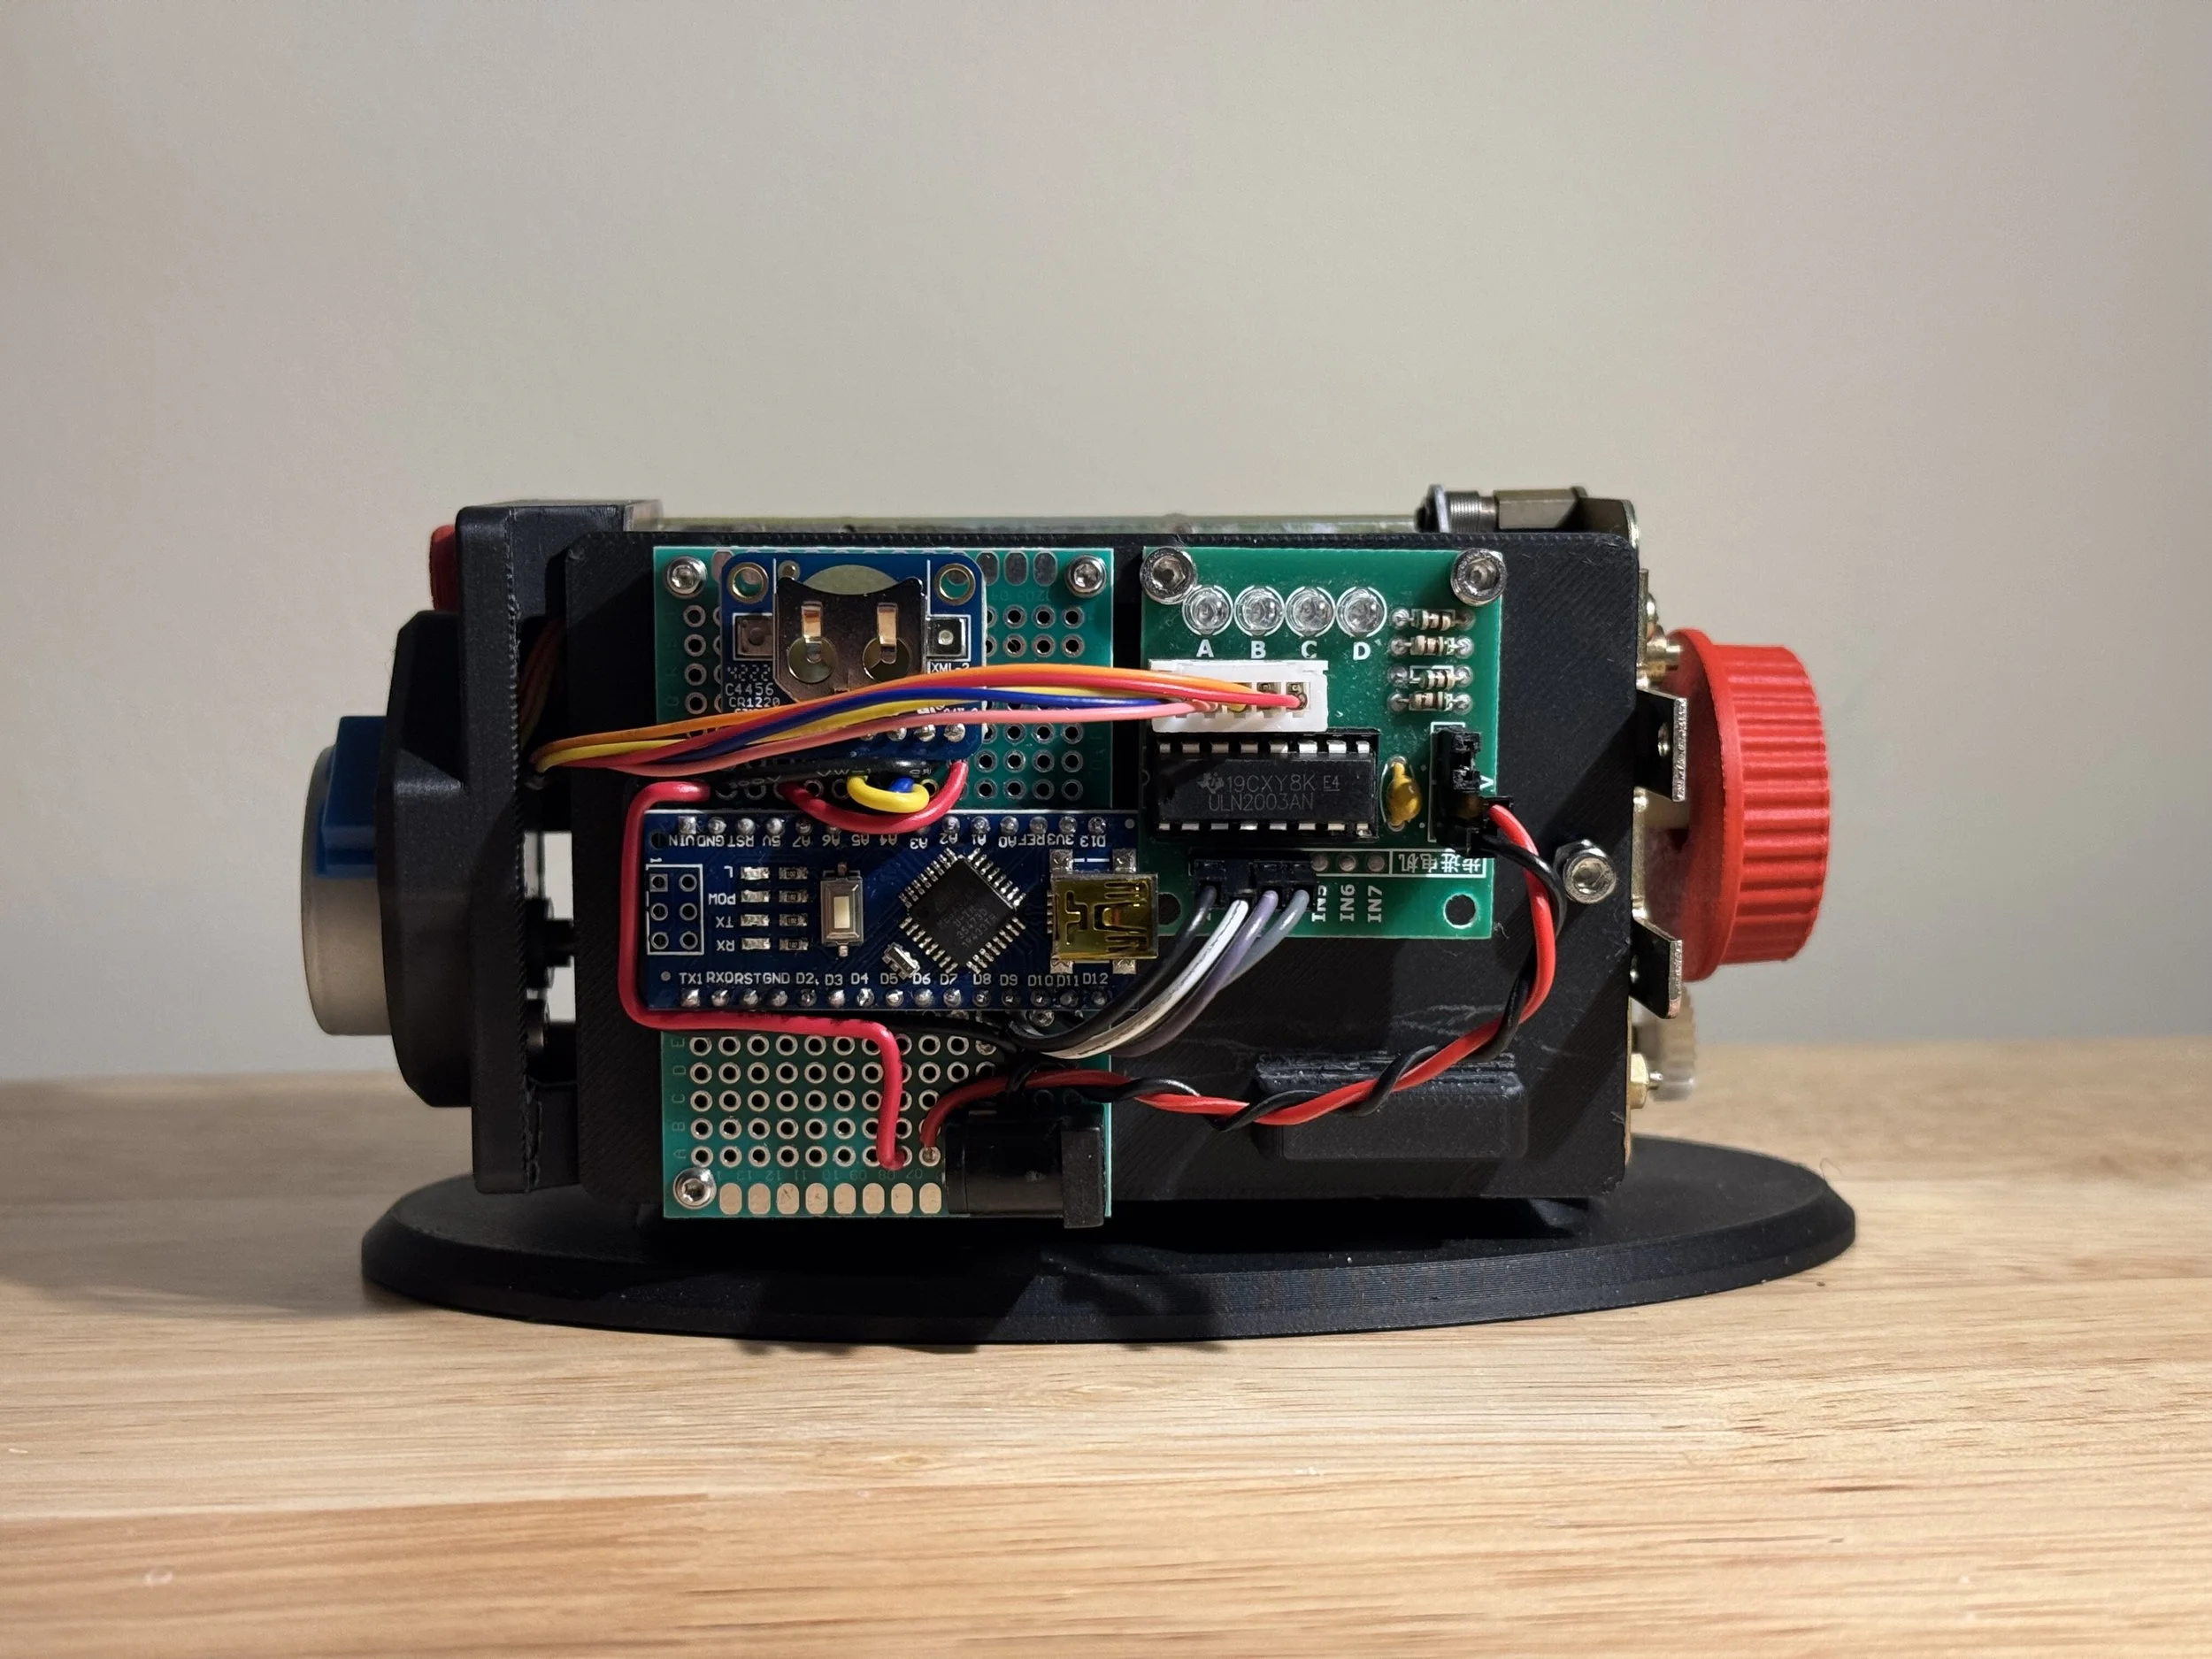
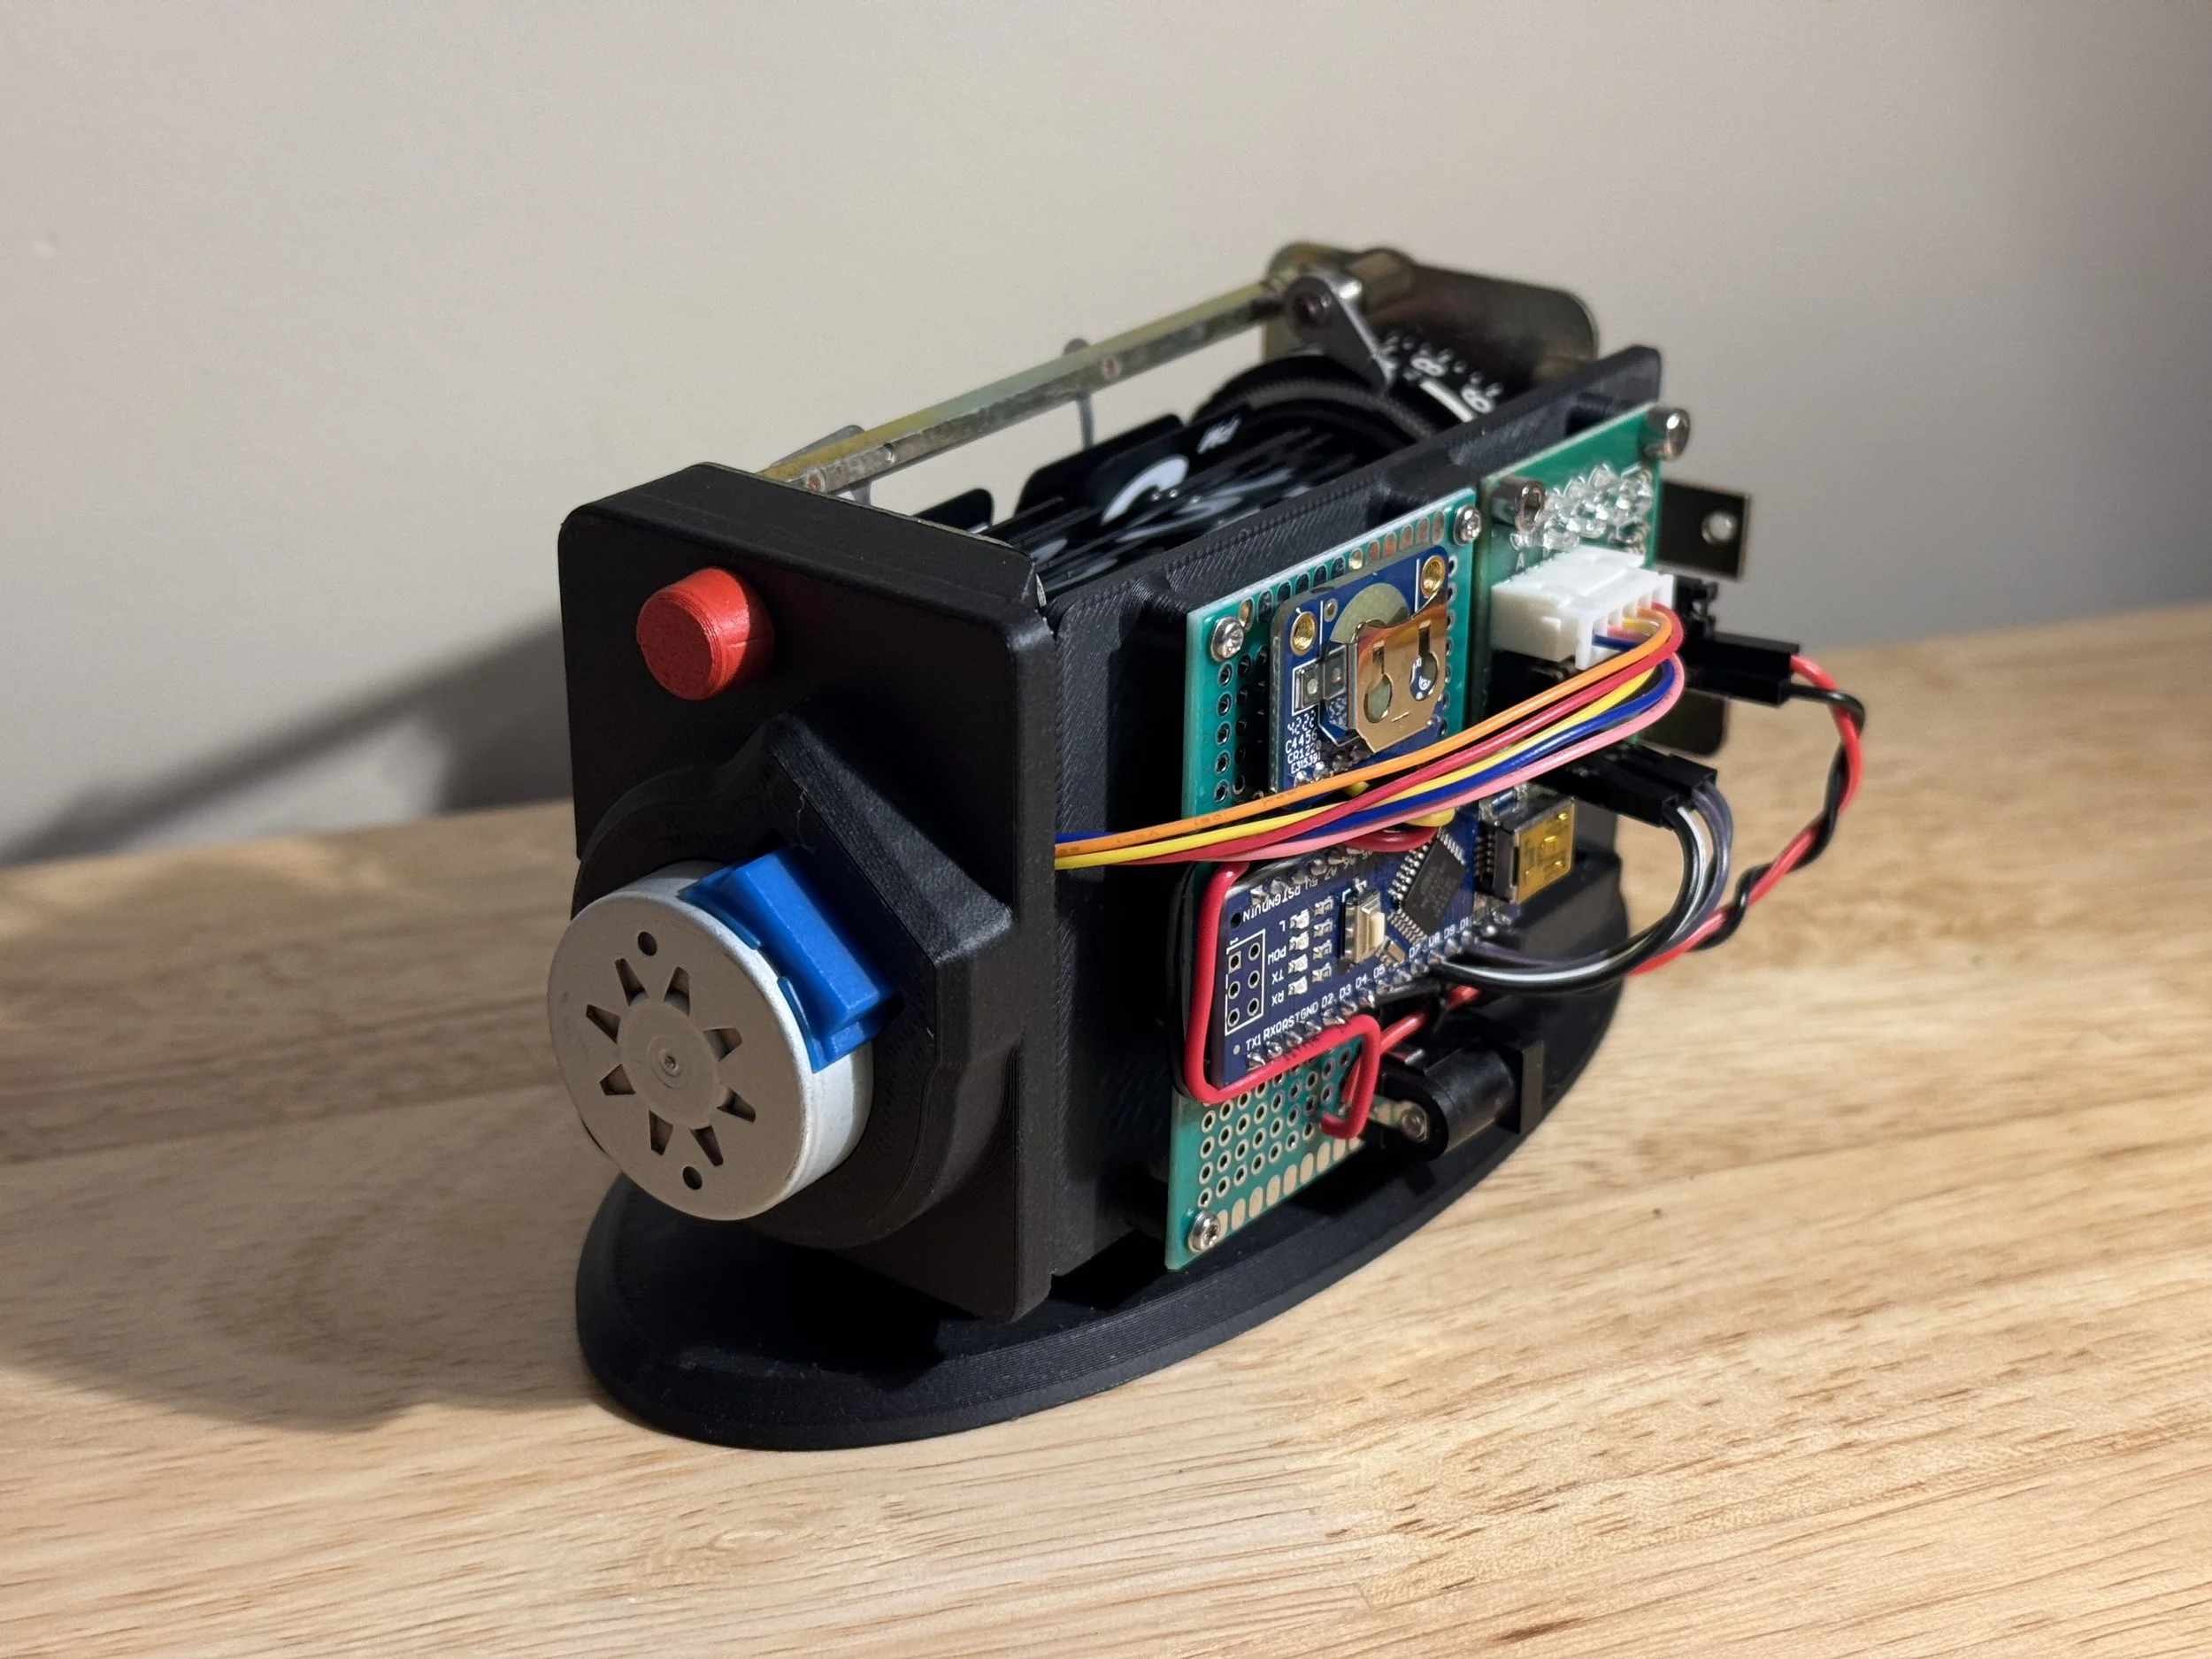
Without the original motor available, I designed a new interface for a spare stepper motor I had. I 3d printed the components and wired together a protoboard. The clock logic is run on an Arduino Nano and uses a quartz breakout module to keep accurate timing.
The timekeeping module was new to me in concept and practice. After hours of debugging why the clock couldn’t keep time over 24 hours, I learned the hard way about how poor computers are at absolute timing. Just as fascinating was going a little deeper into the meaning of ‘quartz’ in time keeping. An extremely repeatable and precise frequency can be measured from the vibration of quartz crystal when a known electric current passes through it, keeping accurate time.
I also needed to implement a finicky error correction procedure because the 28BYJ-48 stepper motor I used has 2048 steps/revolution. Annoyingly, this didn’t divide evenly in into the 10 minutes per revolution of the clock driven gear (ending up with 204.8 steps/min). 205 steps/min ends up gaining a few minutes per week, and so every 5 minutes, a small step correction is made to make up for the accumulated 1 step (0.2*5) of error.
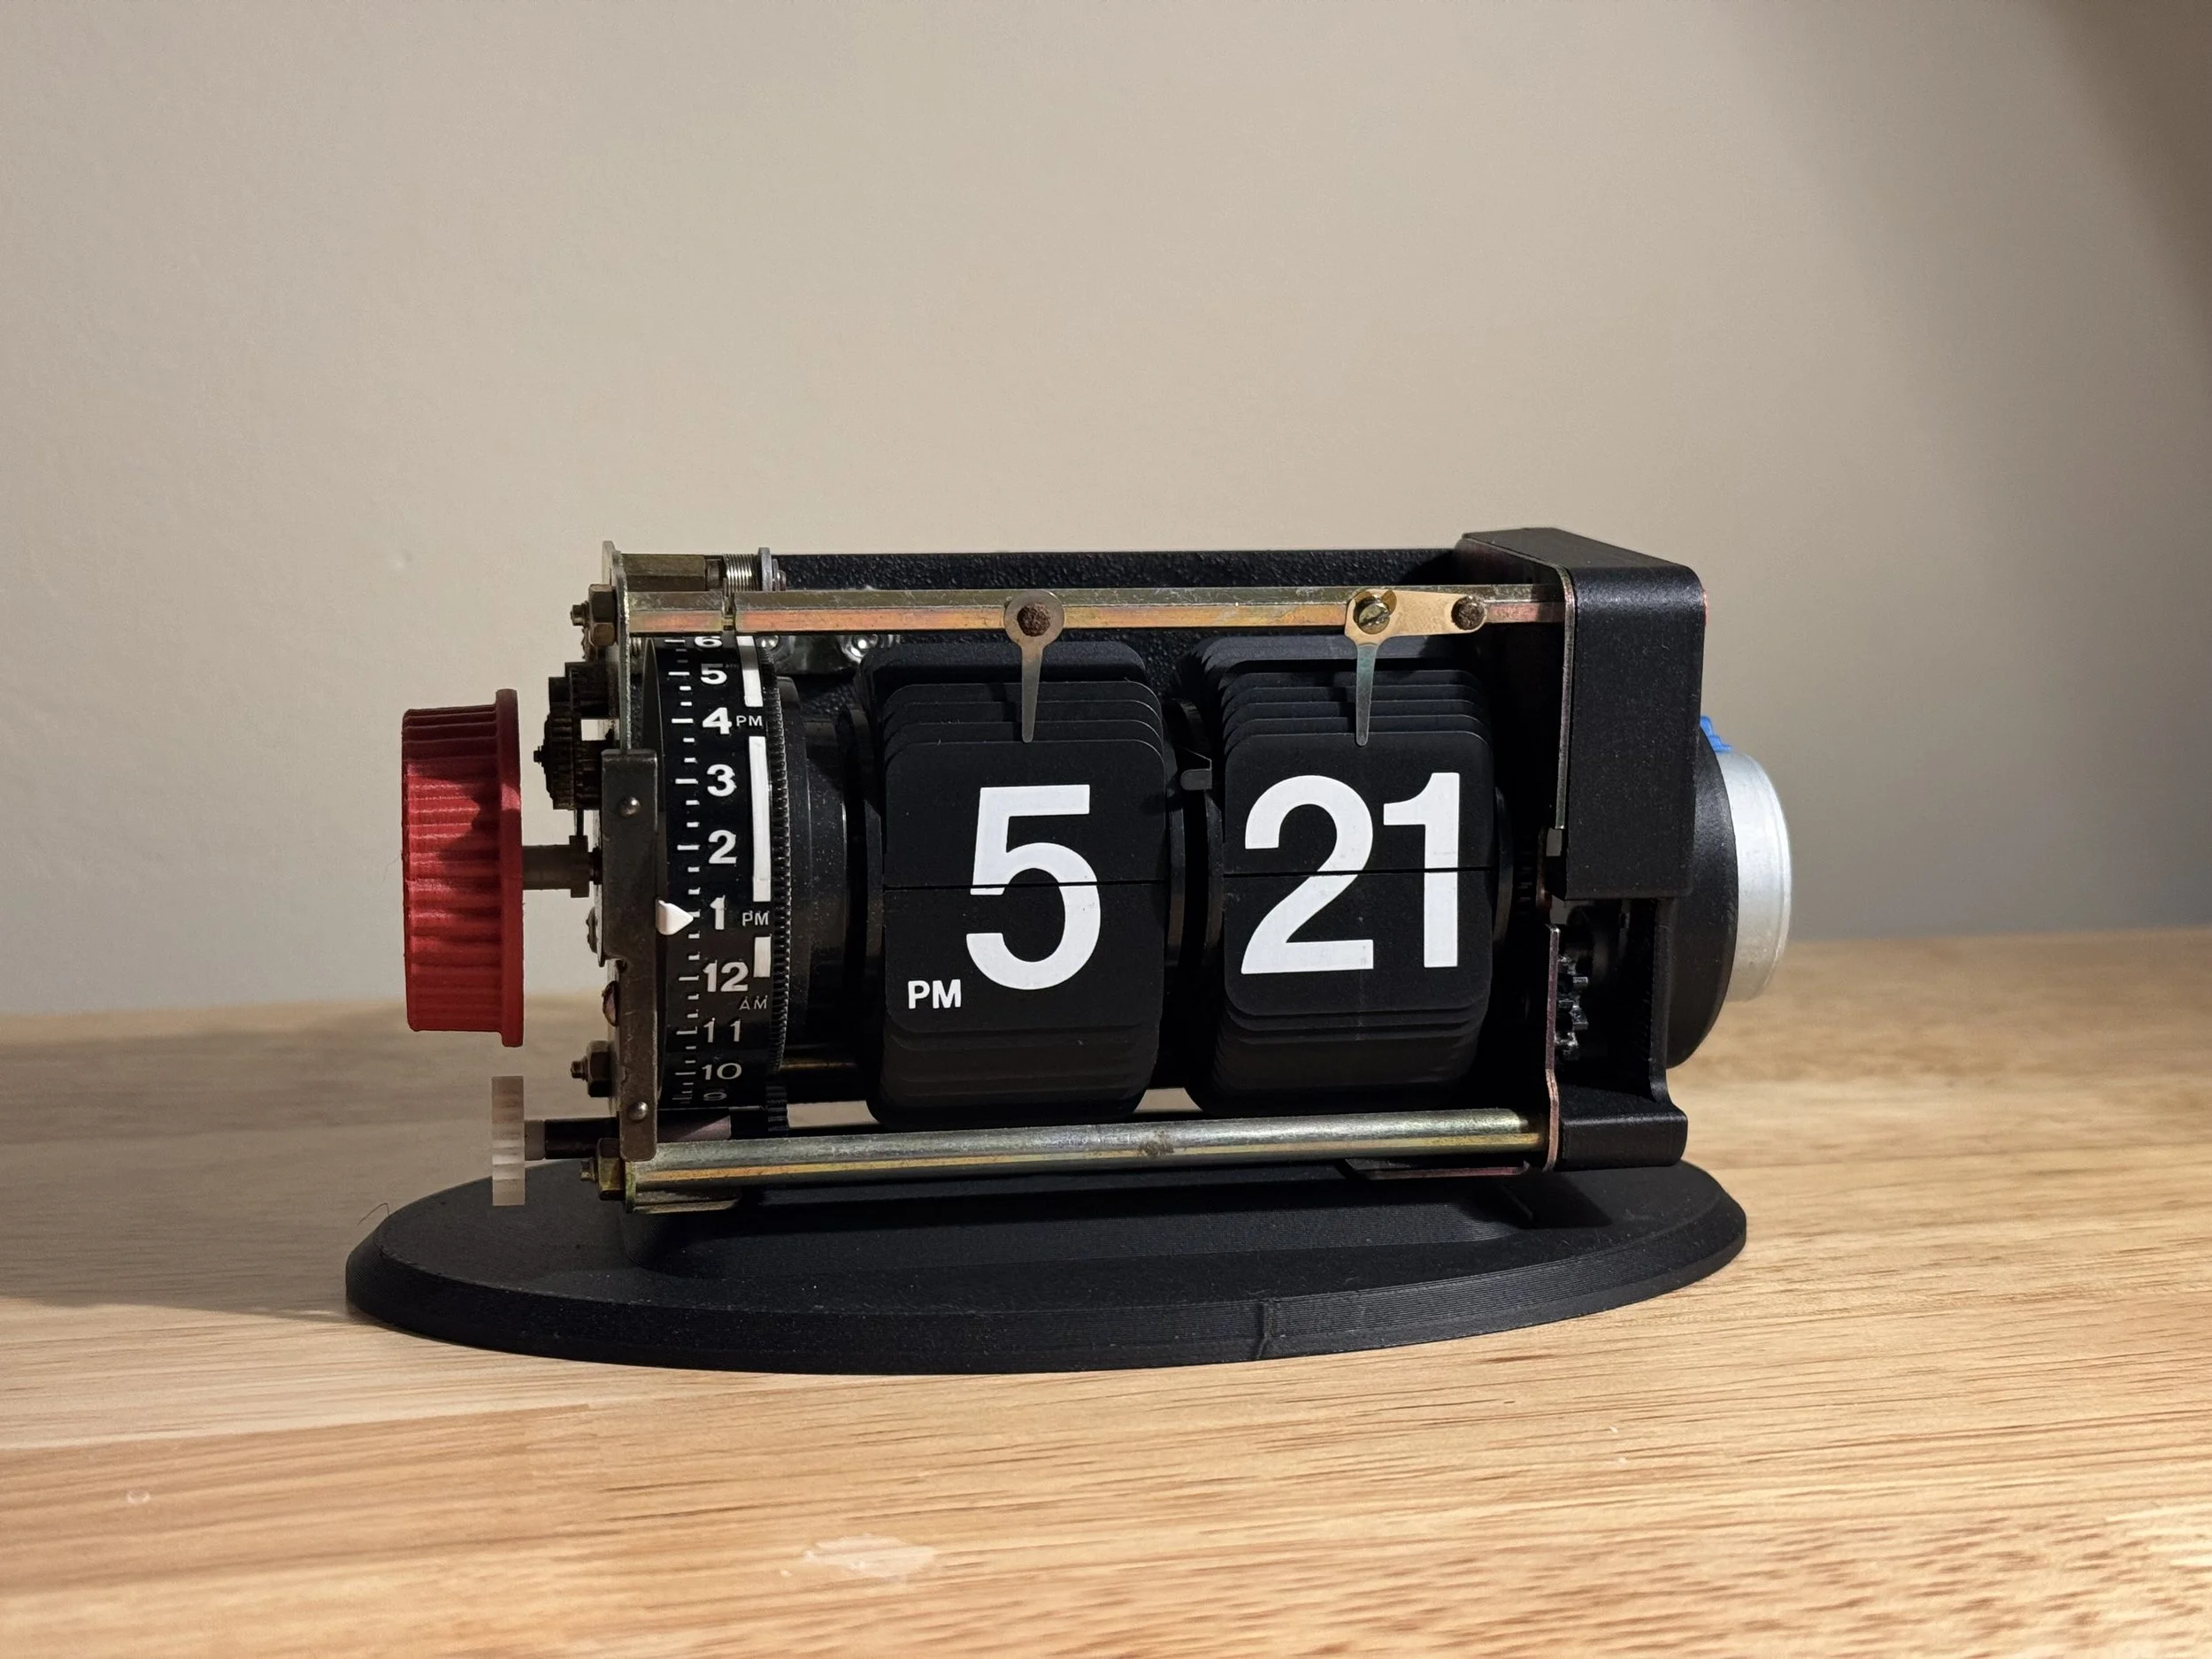
Once the code electronics were finalized, I enjoyed the raw design in the bare assembly and opted to not cover it with an outer case. The clock is a reliable timekeeper in my apartment to this day.

